Last updated November 17, 2026








Free written scope consultation - allowances, timeline, and change-order rules on paper before a single trade is scheduled
Bathroom Remodeling Troubleshooting: Common Problems and How to Fix Them
If your new tile grout is cracking at the corners within six months, that’s not a grout failure – it’s a movement joint failure, and the tile industry’s installation standard (TCNA) has required soft joints at all changes of plane since 2012. Your contractor knew this, or should have. Most post-remodel bathroom problems aren’t random bad luck. They’re the visible end of a specific shortcut taken during construction, and once you know how to read the symptom, you know exactly what conversation to have. This guide teaches Westminster homeowners to separate workmanship defects from material failures, gather the right documentation, and understand their leverage under California law before they pick up the phone.
Quick Answer
Most post-remodel bathroom problems – corner grout cracking, efflorescence, musty smells, slow drains – trace back to identifiable installation shortcuts: missing movement joints, moisture trapped in the substrate, absent vapor barriers, undersized exhaust fans, or drain lines pitched wrong. Fixing them starts with matching the symptom to its root cause, then determining whether the defect falls under your contractor’s workmanship warranty, a manufacturer’s material warranty, or neither. A trained contractor should correct workmanship failures at no charge during the warranty window.
Styles & brands we work with
- Kitchen remodeling
- Bathroom remodeling
- Home additions & ADU
- Roofing
- Windows & doors
- Driveway & pavers
- Fence
Table of Contents
- Reading Symptoms as Evidence: A Troubleshooting Map
- Corner Grout Cracking and the Movement Joint Problem
- Efflorescence and Moisture in the Substrate
- Musty Smell After a Shower: Vapor Barriers and Exhaust CFM
- Slow Drains: Slope, Traps, and What Was Left Out
- Workmanship Warranty vs. Material Warranty vs. Neither
- The Documentation to Gather Before You Call Anyone Back
- California SB 800 and What It Means for Your Leverage
- Cosmetic Defect vs. Code Violation
- When to Call a Professional
Reading Symptoms as Evidence: A Troubleshooting Map
A bathroom doesn’t fail randomly. Every defect you can see points backward to a decision made during installation – a joint that wasn’t cut, a membrane that wasn’t lapped, a fan that was sized by guess instead of by calculation. Here’s the map we use when we walk into a failed remodel in Westminster, whether it’s a 1950s ranch near the Civic Center or a newer build out by the beach.
- Grout cracking at inside corners and where wall meets floor – missing or rigid movement joints where the standard calls for flexible sealant.
- White, powdery staining on grout or tile faces – efflorescence, which means moisture is migrating through the substrate and carrying salts to the surface.
- Persistent musty smell after showers – no vapor barrier behind the tile assembly, or an exhaust fan undersized for the room’s cubic footage.
- Water pooling in the shower pan or a drain that gurgles – drain line pitched wrong, a trap that was omitted or double-trapped, or a missing hair catch.
- Tile edges that sit proud of their neighbors (lippage) – substrate that wasn’t flattened before setting, or thin-set applied too thin to level out the tile.
- Caulk peeling or turning black within a year – wrong sealant for a wet area, or applied over a joint that was still moving.
None of these are mysterious. Each one is a documented standard that was either followed or skipped. When you can name the standard, you stop arguing about opinions and start talking about specifications. That’s the difference between a homeowner who gets stonewalled and one who gets a callback.
Corner Grout Cracking and the Movement Joint Problem
Cracking grout at the corners of a shower is the most common complaint we hear, and it’s almost never the grout’s fault. When two planes of a wall meet – the back wall and side wall, or the wall and the floor – they move independently. Buildings settle, wood framing shrinks and swells with the seasons, and in coastal Southern California the daily swing in humidity does that work too. Grout is rigid. Fill the joint with grout and it will crack, every time, because you’ve asked a stiff material to do a flexible job.
The fix is the one the TCNA standard has required since 2012: a soft joint, meaning a flexible sealant (usually 100% silicone) instead of grout at every change of plane. That includes inside corners, outside corners, and the wall-to-floor transition. On a properly built shower, the tile board itself should have an expansion gap at the framing, and the joint between wall and floor is filled with sealant, not cement grout.
What this means in practice:
- Photograph every cracked joint, wide enough to show its location in the shower.
- Note when the cracking first appeared: week two is a red flag; year three of hard use is worth a conversation.
- Ask your contractor, in writing, whether the corner joints were filled with flexible sealant or grout.
- If the answer is grout, that’s a workmanship issue, not a material issue. The contractor should come back and cut out the grout, clean the joint, and seal it with silicone at no charge.
One honest caveat: if the cracks are growing wider together with a hollow sound under the tile, the problem is bigger than the joint. That suggests movement in the substrate itself, which is a rebuild, not a reseal. If you’re planning a fresh bathroom from the ground up and want to avoid this cycle, our overview of Bathroom Remodeling in Westminster explains how we sequence the rough-in and waterproofing before a single tile is set.
Efflorescence and Moisture in the Substrate
Efflorescence looks alarming – a white, chalky bloom across your grout and tile edges – but the stain itself is harmless. It’s the salt that water leaves behind. The water, though, is the problem. When moisture gets into the substrate (the cement board, the mortar bed, the framing behind them) and then migrates back out through the tile, it dissolves salts and deposits them on the surface as it evaporates. Seeing it means moisture had a path in, and that path should not exist in a properly built bathroom.
Three common causes we find in Westminster remodels:
- No waterproofing membrane behind the tile. Cement board alone isn’t waterproof; it’s water-resistant, and water passes through it over time. A liquid-applied or sheet membrane is what keeps water out of the wall.
- A shower pan that was tiled directly onto the subfloor without the required sloped bed and liner, so water sits instead of draining.
- Grout and tile sealed too early, trapping moisture that was already in the assembly and forcing it to find a new way out.
Efflorescence that shows up once and wipes away clean with no recurrence is often harmless mineral residue from fresh mortar. Efflorescence that keeps coming back, or appears alongside soft grout or a musty smell, means water is actively moving through the assembly. Ask the contractor how the shower was waterproofed: what membrane, what brand, and whether it was flood-tested before tile. If they can’t answer, that’s your answer.
Musty Smell After a Shower: Vapor Barriers and Exhaust CFM
A musty smell that appears after every shower is moisture that can’t leave. Two systems are responsible for keeping a bathroom dry: the vapor barrier behind the walls, and the exhaust fan overhead. If either is missing or undersized, mold gets a foothold, and the smell is the first sign.
On the exhaust side, the calculation is simple enough that any contractor should have run it. The fan should move enough air to cycle the bathroom’s volume several times per hour, and the rule of thumb most manufacturers and the building code work from is one CFM (cubic foot per minute) per square foot of floor area for a bathroom up to about 100 square feet, adjusted up for ceiling height. A 5-by-8 bathroom with an 8-foot ceiling needs a fan rated around 50 to 80 CFM, not the 30-CFM builder-grade unit that often ends up there. Check the rating printed on the fan housing.
On the vapor side, the barrier has to be continuous: across the walls, over the studs, with no gaps at the shower valve or the curtain. A hole punched for plumbing and not sealed around is where the moisture starts.
What to check:
- Turn on the fan and hold a piece of tissue against the grille – it should hold if the fan is actually pulling air.
- Read the CFM stamped on the fan housing and compare it to your room’s floor area.
- Check that the ductwork vents to the exterior, not into the attic or a soffit cavity. A fan that exhausts into the attic just relocates the moisture.
- Run the fan for 20 minutes after a shower, not just during it.
If the fan is undersized or the duct is dumped into the attic, the fix is mechanical work, not cosmetic. That’s a workmanship conversation with your contractor, not a mold-and-mildew spray.
Slow Drains: Slope, Traps, and What Was Left Out
A shower that pooled water on day one and drains slowly by month three is telling you something specific: either the drain line was pitched wrong during rough-in, or the trap is clogged with construction debris the crew didn’t flush, or a hair catch was never installed. All three live in the same plumbing rough-in, and all three are the contractor’s responsibility to get right the first time.
Drain lines need to fall toward the main stack at a steady slope – roughly a quarter-inch per foot of run is the trade standard. A line that’s flat, or worse, pitched backward, lets water and waste sit in the pipe. You’ll see it as gurgling, a slow drain that gradually worsens, or pooling in the shower pan.
Construction debris is the sneaky one. Grout, thin-set, and drywall dust all find their way into an open drain during a remodel. A crew that doesn’t cap the drain and flush the line before closing the wall leaves you with a slow drain months later. And a shower drain without a hair catch gets a mat of hair and soap scum against the grate that no amount of boiling water will clear.
What a homeowner can reasonably check:
- Watch the shower pan after the water runs off – does water sit in any low spot, or does it drain evenly toward the grate?
- Note whether the drain gurgles when the toilet or sink runs. Gurgling points to a venting or trap problem.
- Pull the grate and look for a hair catch. If there isn’t one, ask the contractor why not.
- Time the drain: if a shower full of water takes more than a couple of minutes to empty, it’s restricted.
If the restriction is in the drain body or the trap, that’s a plumbing correction. If it’s beyond the trap in the branch line, it may need a plumber’s camera to diagnose. Either way, don’t let a slow drain get written off as “just a shower.”
Workmanship Warranty vs. Material Warranty vs. Neither
Here’s where most homeowners lose their footing. When a problem shows up, they call the contractor and get pushed to the manufacturer, or the manufacturer and get pushed back. Knowing which warranty actually covers which defect is what lets you hold your ground.
- The workmanship warranty covers how the product was installed: missing movement joints, no vapor barrier, wrong slope, undersized fan, poor tile prep, improper waterproofing. This is the contractor’s responsibility, full stop. At Bradford, every completed project is covered by our 365-Day Done Right Promise – if the work fails inside that window, we come back and correct it at no charge.
- The material warranty covers the product itself failing on its own: a tile that cracks for no installation reason, a fixture with a manufacturing flaw, a fan motor that dies. That’s the manufacturer’s warranty, and the brand names we install are documented so the spec sheet and warranty are traceable. Kohler, Moen, and our cabinetry and surface brands (KraftMaid, Wellborn, Cambria, Caesarstone) all carry their own manufacturer warranties, and we keep those documents with the job file.
- Neither covers wear and tear, neglect, or damage from something outside the remodel – a house shift, a plumbing leak from the unit above, or a homeowner who caulked over a failing joint themselves.
The catch is that a material defect and an installation defect can look identical from the outside. That’s why the next section matters: the paperwork you gather in the first week is what determines who pays for the repair.
The Documentation to Gather Before You Call Anyone Back
This is the part most homeowners skip, and it’s the part that decides whether you get a serious response or a runaround. Before you call the contractor, put together a file. It takes twenty minutes and it changes the tone of the conversation entirely.
- Photos with timestamps. Photograph every symptom from multiple angles. Include one wide shot showing the whole bathroom so the location is obvious. Most phones stamp the date automatically; keep it.
- A written description of when the symptom first appeared. “Grout crack in the back-left corner of the shower, first noticed the second week of March, has grown about a quarter inch since.” Dates and descriptions beat vague complaints.
- The original contract and any change orders. Pull the written scope. It tells you exactly what was promised and what wasn’t.
- The material spec sheets and warranty documents that came with the job, if the contractor provided them.
- A log of the conversation so far: who you talked to, when, and what they said. If anything was promised verbally, write it down.
- Any permit paperwork. If the bathroom remodel required a permit, the inspection record is part of the file.
With that file in hand, the call to the contractor is straightforward: “Here’s a photo of grout cracking at the inside corner, taken on this date. I’d like to know whether that joint was filled with sealant or grout, and I’d like it corrected.” That’s not a complaint. It’s a specification question, and it’s much harder to deflect.
California SB 800 and What It Means for Your Leverage
California’s SB 800, the right-to-repair law, is the state’s framework for resolving construction defect claims. It sets a process: written notice to the builder, an inspection window, an offer to repair, and a defined timeline for each step. It’s most often discussed in new-home construction, where the builder is held to specific standards for the first several years – but homeowners hiring a remodeling contractor should understand what the law does and doesn’t cover for their project.
The short version: SB 800’s procedural framework and its defined defect standards apply primarily to new residential construction (homes sold for the first time, with a builder warranty and the state’s correction periods). For a remodel on an existing home, your leverage comes from a different set of sources – the written contract, the workmanship warranty the contractor gave you, the building code and permitting under the local AHJ, and, if the contract provides for it, arbitration.
What that means for a Westminster homeowner in practice:
- Read the warranty clause in your remodel contract carefully. The 365-Day Done Right Promise is our standard, but the contract is where any contractor’s obligations are anchored.
- Know whether your project required a permit and whether it was inspected. In Westminster, permitted bathroom work falls under the city’s building department, and a permit is your paper trail.
- Keep the written notice requirement in mind. Send complaints in writing, not by phone, so the record is clean whether the dispute is small or ends up in arbitration.
- If you’re in a condo with an HOA, the association’s bylaws may add another layer. Read those before work starts, not after.
SB 800 is not a blunt hammer for every crack. But the habits it encourages – notice in writing, documentation, defined timelines – are exactly what protect you in a remodel dispute too. If you’re ready to remodel with a contractor who puts the guarantee in writing from day one, our General Contractor in Westminster page lays out how projects are scoped and priced.
Cosmetic Defect vs. Code Violation
Not every problem is equal, and knowing which is which tells you how fast to act. A cosmetic defect affects looks or comfort: uneven grout lines, caulk discoloration, a tile edge slightly proud of its neighbor. It matters, it’s worth fixing, and it can usually wait for the contractor’s regular schedule.
A code violation is a safety or structural issue. It always takes priority in the repair conversation, because the risk isn’t aesthetic – it’s real. The clearest examples we see:
- Missing GFCI protection on bathroom receptacles. Water and electricity need that device; it’s a code requirement, and it’s a shock hazard without it.
- No exhaust fan, or a fan vented into the attic. Beyond mold, this is a moisture problem that attacks the framing.
- A shower pan that’s not properly sloped, so water stands. Standing water and structural framing don’t mix.
- Shower valves without anti-scald protection. A valve that can deliver a sudden slug of hot water is a scald hazard, especially for kids and older adults.
- Improperly flashed or sealed exterior penetrations near a bath window.
If a defect is both cosmetic and a code issue, the code issue leads the conversation. Approach it that way in writing: “The grout in the shower is cracking at the corners, and separately the exhaust fan is undersized for the room. I’d like to start with the fan.” Prioritize safety, then aesthetics. That structure keeps the contractor focused on the right problem, and it keeps you from getting talked out of a real hazard with a tube of caulk.
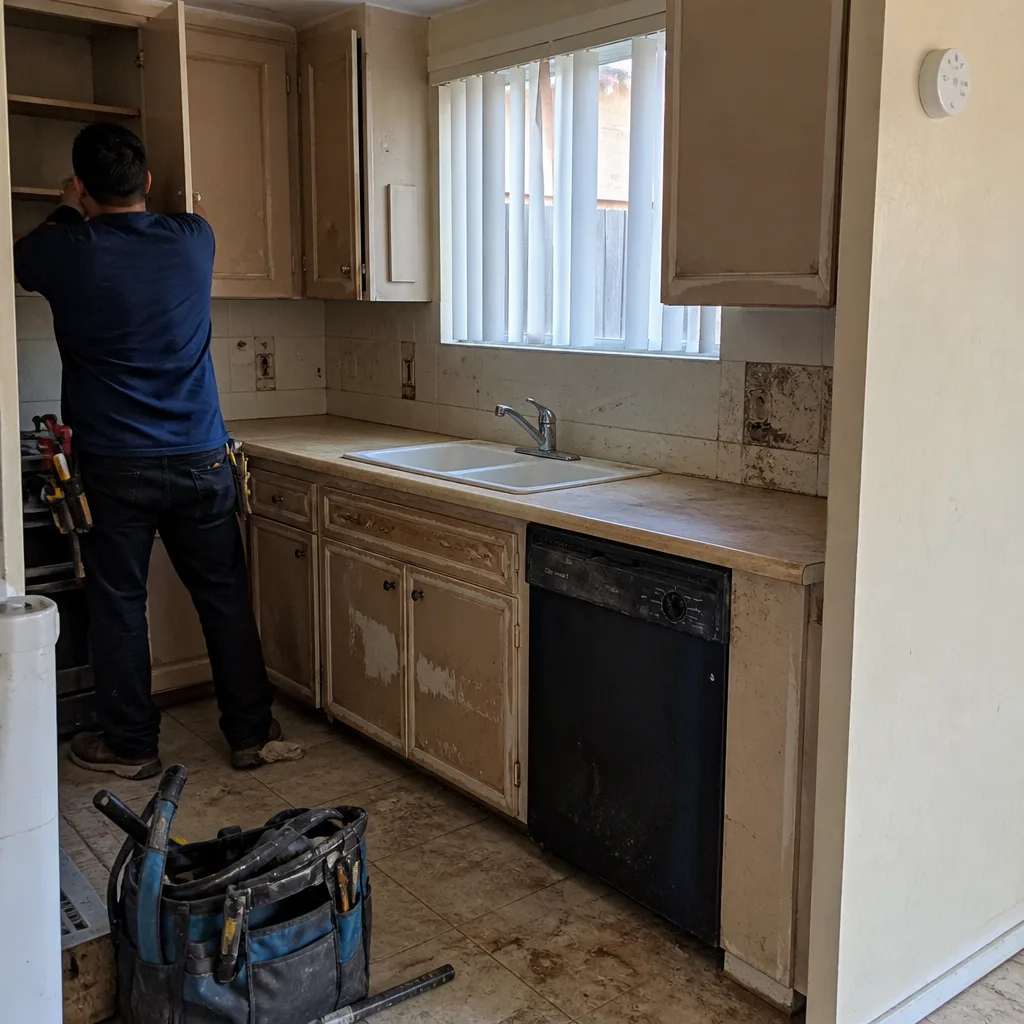
See the difference
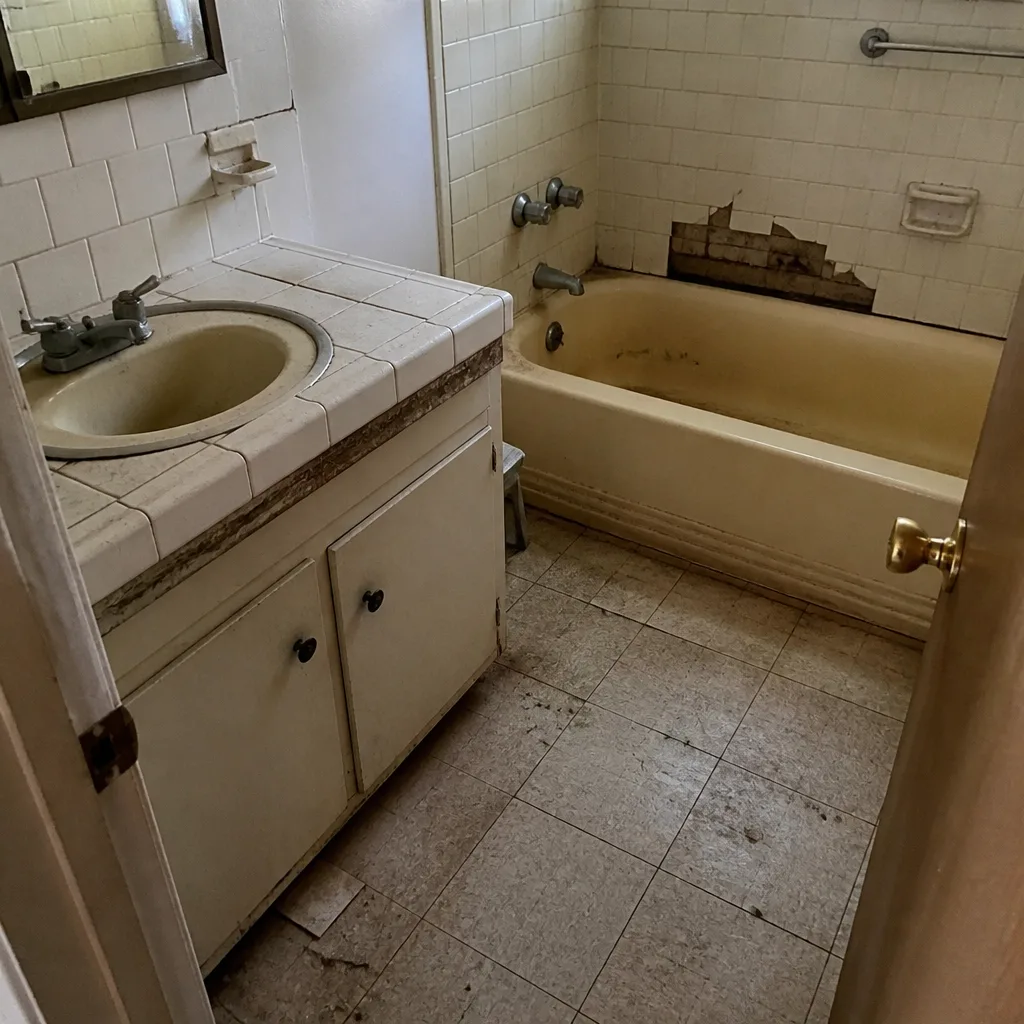 Before
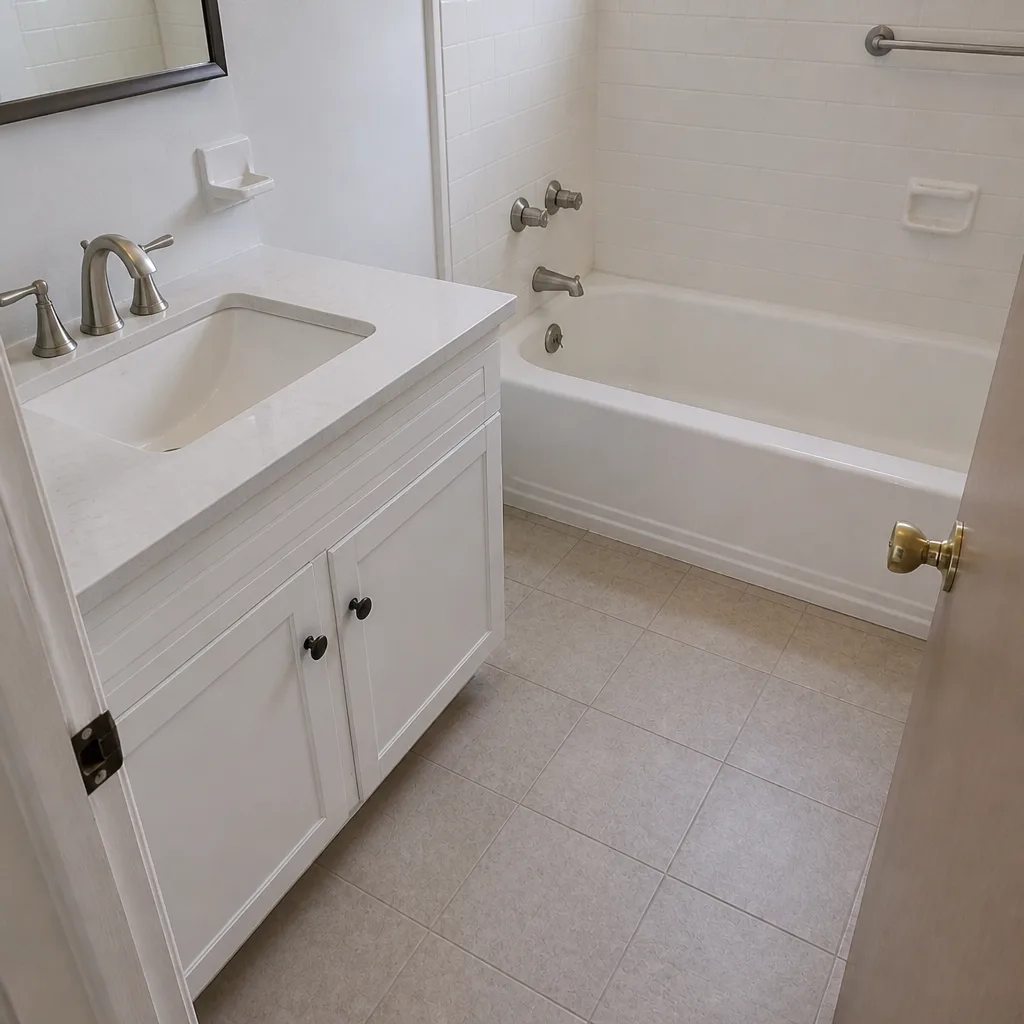 After
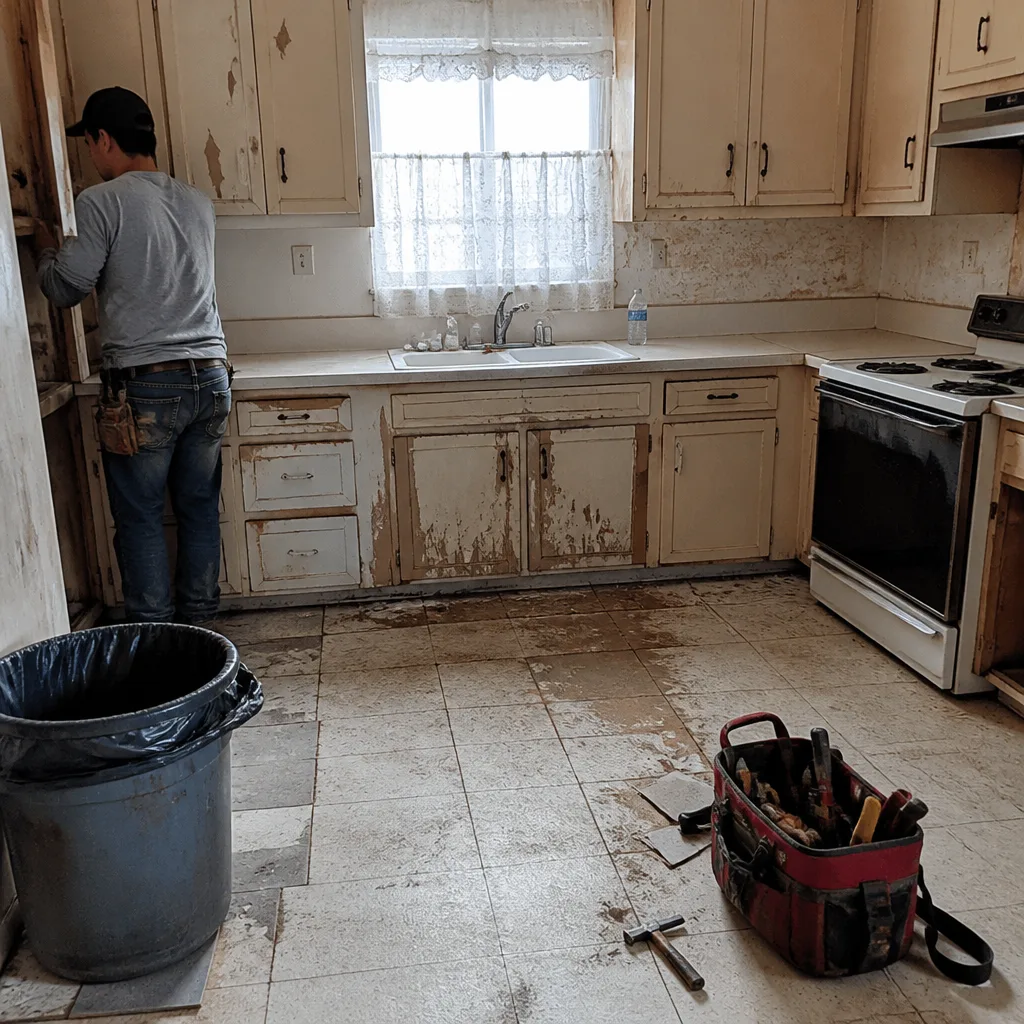 Before
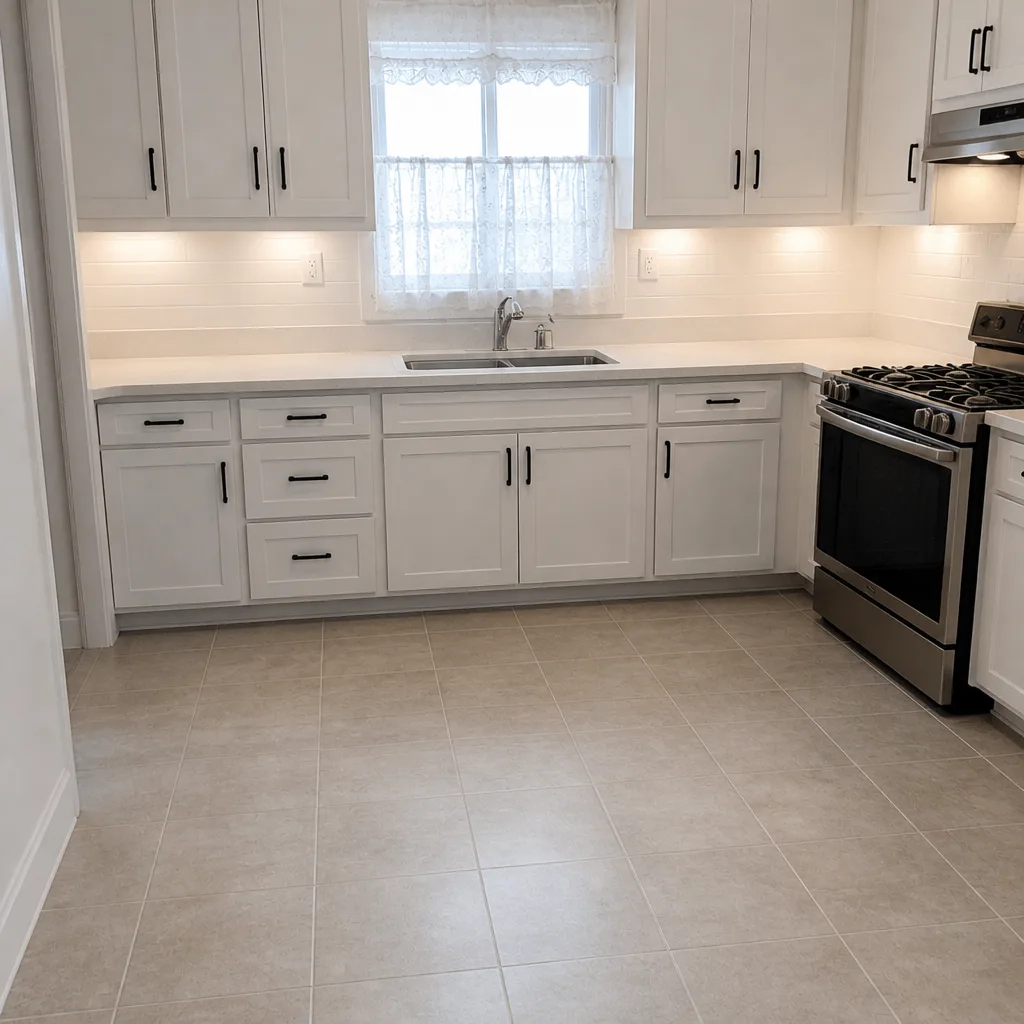 After
 Before
 After
Common Mistakes to Avoid
- Caulking over a failing joint yourself. A layperson’s caulk job hides the evidence and gives the contractor an “already tampered with” excuse. Document first, repair second.
- Calling the contractor with feelings instead of facts. “The tile looks terrible” gets a shrug; “photo of grout crack at the corner, dated, with a question about the movement joint” gets a visit.
- Assuming the material warranty covers installation. If the tile was set with no waterproofing behind it, that’s workmanship, and the manufacturer will correctly decline the claim.
- Not reading the warranty clause before you sign. In Westminster, the warranty language in your written contract is your leverage. Read it before work starts, not after a defect appears.
- Letting a code violation sit because it’s “not ugly yet.” An undersized exhaust fan or a standing pan is doing damage while it waits. Fix the hazard first.
- Accepting a verbal “we’ll take care of it” with no date. Get the correction in writing with a scheduled date, every time, every contractor.
- Ignoring the permit. In Westminster, bathroom work that needs a permit needs an inspection. A contractor who talks you out of it is telling you something about how they work.
When to Call a Professional
Some of the fixes in this guide are a five-minute reseal. Others are a rebuild. Call a professional when you see any of the following: water pooling in the shower pan, efflorescence that keeps coming back after cleaning, a fan that fails the tissue test or exhausts into the attic, a drain that’s slowed to a trickle or gurgles, tile that sounds hollow underfoot, or any of the electrical and plumbing code items above. Also call when the contractor who did the original work won’t respond – an independent inspection often unlocks the warranty conversation. Bradford Remodeling Co Westminster offers free estimates in Westminster – call (833) 954-5086. Our technicians have up to 22 years of experience, and every project we start comes with a written price before work begins and the 365-Day Done Right Promise at close.
Frequently Asked Questions
Cracked grout at the corners of a new shower is not normal – it’s a sign that a movement joint was filled with rigid grout instead of flexible sealant, which the industry standard has required since 2012. Cracks that run along flat fields of tile are a different, rarer issue. Corner cracks, or cracks where wall meets floor, are almost always a workmanship fix: cut out the grout, seal with 100% silicone. Call (833) 954-5086 if you want an estimate on correcting it.
The contractor pays if the defect is a workmanship problem and the project is still inside the warranty period; the manufacturer pays if it’s a true material failure; the homeowner pays if it’s wear, tear, or damage from outside the job. The written warranty in your contract is what settles which is which. Call (833) 954-5086 for a free estimate on a correction if you’re outside warranty.
Efflorescence is a white, powdery, crystalline deposit – salts left behind as moisture evaporates. Mold is soft, fuzzy, and often dark or greenish. Efflorescence wipes away and may return; mold keeps growing. Both point to moisture, but only one is a health concern, and both deserve a professional look at the waterproofing. Call (833) 954-5086 to schedule a free estimate on the repair.
A bathroom needs about 1 CFM per square foot of floor area, adjusted up for a higher ceiling. A small bathroom typically needs a 50 – 80 CFM fan; a larger one with a higher ceiling needs more. Check the rating stamped on the housing, and make sure the duct vents outside, not into the attic. If your fan isn’t cutting it, call (833) 954-5086 for a free estimate on replacing it.
SB 800’s defined correction periods apply primarily to new residential construction. For a remodel on an existing home, your leverage comes from the written contract, the contractor’s own workmanship warranty, the permit and inspection record, and, if the contract specifies, arbitration. Read the warranty clause before you sign. Call (833) 954-5086 with questions about our written guarantee.
Photograph it with a timestamp, write down when you first noticed it and how it’s changed, and pull the contract. Then call the contractor in writing, naming the specific symptom and asking a specific question. Don’t caulk over it, and don’t let a verbal “we’ll look at it” stand without a date. Call (833) 954-5086 if you need an independent estimate.
The Bottom Line
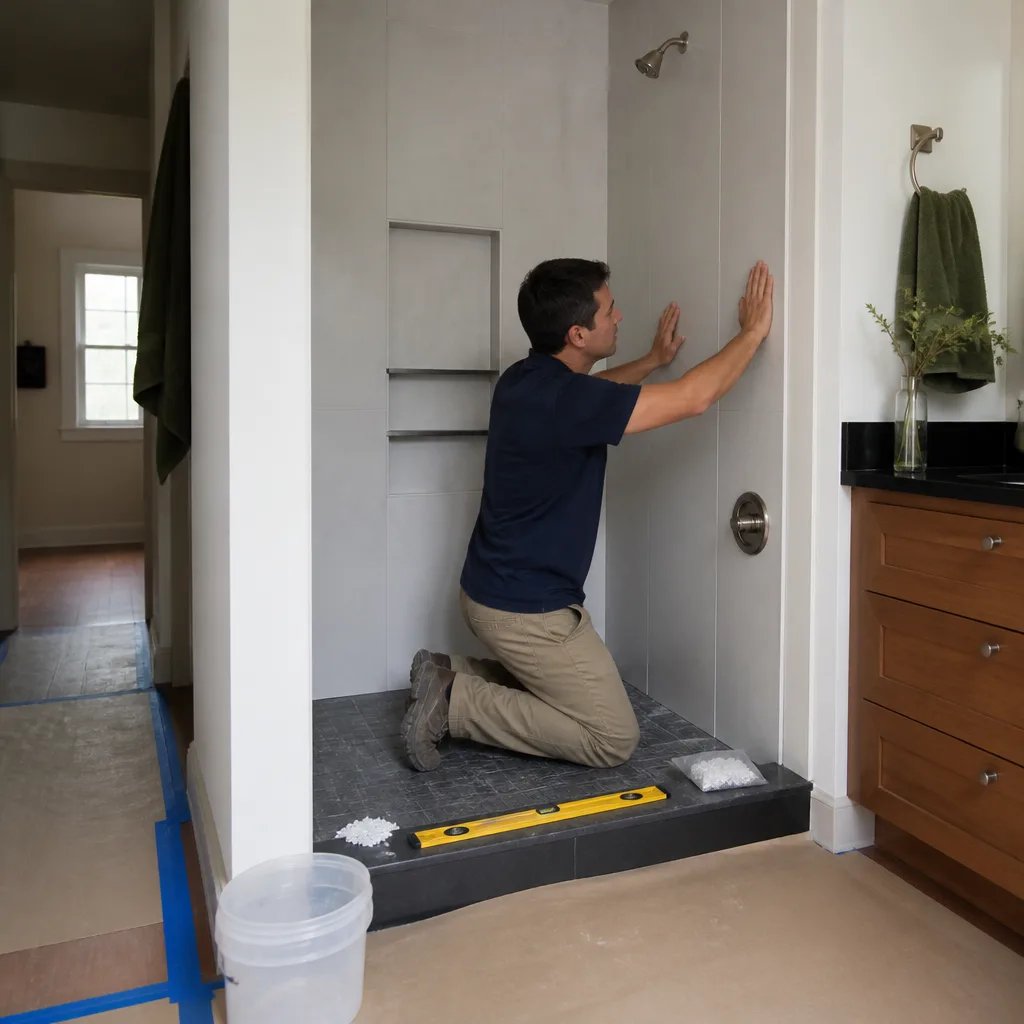
Bathroom problems after a remodel aren’t luck of the draw. Corner cracks, efflorescence, musty smells, and slow drains each point back to a specific installation decision – a movement joint that wasn’t cut, a membrane that wasn’t laid, a fan that was undersized, a drain that was pitched wrong. Once you can read the symptom, you can ask the right question in writing, and you can tell a workmanship failure from a material failure. That’s the whole skill: name the standard, document the evidence, prioritize the code violation over the cosmetic, and hold the contractor to the warranty they put in writing. If you want that in writing before a single tool comes out, our Bradford Remodeling Co Westminster home page is the place to start, and when a kitchen remodel is in the plan too, our Kitchen Remodeling in Westminster guide covers the same troubleshooting.
Ready to get the answer in writing? Call Bradford Remodeling Co Westminster at (833) 954-5086 for a free estimate. You’ll get a written price before work starts, a crew that shows up background-checked and uniformed, a live person on the phone any hour of the day, and the 365-Day Done Right Promise covering the work for a full year. If a problem we touched fails inside that window, we come back and make it right at no charge. That’s what squared away looks like.
Written by the team at Bradford Remodeling Co Westminster.