Last updated November 17, 2026




Free written scope consultation - allowances, timeline, and change-order rules on paper before a single trade is scheduled
Bathroom Remodeling Warning Signs Every Homeowner Should Know
The most expensive bathroom remodel mistake isn’t hiring the wrong contractor. It’s not knowing what to look for during construction, when you still have leverage. By the time tile is set over unpermitted plumbing, your options are demolition or litigation. Bathrooms generate more contractor disputes per square foot than any other room because the work is technical, heavily inspected, and buried behind finished surfaces. A bad contractor can hide poor work until a year after they’ve been paid. This guide walks you through the mid-construction red flags we watch for on bathroom projects in Westminster, what the rough-in inspections actually are, and the written standards that protect you before walls close.
Styles & brands we work with
- Kitchen remodeling
- Bathroom remodeling
- Home additions & ADU
- Roofing
- Windows & doors
- Driveway & pavers
- Fence
Quick Answer
The biggest bathroom remodeling warning signs are tile laid before waterproofing passes inspection, drywall used in wet areas, skipped rough-in plumbing and electrical inspections, and material swaps made without a signed change order. These problems appear during the job, not after, and they’re hidden once finishes go up. Demand permit documentation, inspection records, and photos of open walls before anything is closed, or you lose your ability to fix problems cheaply.
Table of Contents
- Why Bathrooms Produce More Disputes Than Any Other Room
- What the Rough-In Inspections Are and Why They Must Happen Before Walls Close
- Tile Set Without a Completed Waterproofing Inspection
- Drywall in Wet Areas: The Material Warning
- Drains Rough-Set Without a Slope Test
- The ‘Photos Before Closing Walls’ Standard
- Material Substitution and the Change Order Rule
- The Deposit Escalation Pattern and Draw Schedule Language
- How to Verify Permits Through the City of Westminster Portal
- Common Mistakes to Avoid
- When to Call a Professional
- Frequently Asked Questions
- The Bottom Line
Why Bathrooms Produce More Disputes Than Any Other Room
A bathroom is the most technical room per square foot in a house. A single 5-by-8 bathroom contains wet-area waterproofing, slope-to-drain plumbing, GFCI electrical circuits, ventilation ducting, tile substrate, and finish carpentry, all stacked in a footprint smaller than most walk-in closets. Every one of those systems is inspected by a different trade, and after the job is “done,” almost none of it is visible.
That concealment is the problem. In a kitchen, you can pull a drawer and see the cabinet box. In a bathroom, once the tile is set and grouted, you cannot tell whether the shower pan was waterproofed correctly without tearing it out. The substrate under the floor tile, the rough-in plumbing behind the wall, and the drain slope under the slab are all decisions made during a two-week window in the middle of the job, then sealed away.
Most of the horror stories our crews hear about in Westminster trace back to one thing: the homeowner wasn’t watching during construction. They were at work, or they trusted the daily progress photos, or they assumed “we have permits” meant the work was being inspected. None of that is the same as knowing what to check before the walls close. The rest of this guide shows you the specific signs of trouble, in order, from the moment the permit is pulled to the day the crew hands you a signed guarantee.
If you want the baseline of how a properly sequenced bathroom job runs from demolition to final inspection, our Bathroom Remodeling in Westminster service page lays out the full scope.
What the Rough-In Inspections Are and Why They Must Happen Before Walls Close
Rough-in is the stage of construction where the plumbing, electrical, and framing are installed inside the wall cavity but before any drywall, cement board, or finished surface goes on. The rough-in inspection is a city inspector verifying that the plumbing and electrical work meet code before it’s covered up. If your contractor skips it, the work is unpermitted even if a permit was pulled.
Bathroom projects in Westminster typically require three inspections before finishes:
- Rough plumbing inspection – Verifies supply line and drain/waste/vent lines are correctly sized, sloped, and vented. Must pass before drywall goes on.
- Rough electrical inspection – Confirms GFCI protection on bathroom circuits, ventilation fan wiring, and light fixture boxes are in place and code-compliant.
- Waterproofing inspection (where required) – Some jurisdictions require a separate sign-off on shower pan waterproofing and cement board installation before tile goes in.
Then comes a final inspection at the end of the job, when the inspector confirms fixtures are set, GFCI testing passes, the fan exhausts properly, and everything in the permitted scope is complete.
Here’s the part most homeowners miss: the inspections must be called and passed in sequence. A contractor who tears out the old walls, sets new plumbing, and immediately hangs drywall without an inspector visiting has skipped multiple sign-offs. If the plumbing later leaks into the ceiling below, you have no inspection record showing the work was compliant, and your recourse against the contractor becomes much weaker. Protecting yourself means asking for inspection records at every stage, not just at the end.
Tile Set Without a Completed Waterproofing Inspection
The number one concealed failure in bathroom remodels is tile set over an unwaterproofed or improperly waterproofed shower pan. When a contractor sets tile directly on cement board without a liquid-applied membrane or a bonded waterproofing sheet, the wall behind the tile absorbs water every time someone showers. Within a year, you have mold behind the tile, soft spots in the backer board, and eventually water damage in the framing.
What to look for during construction:
- No inspection tag for the shower pan. A properly waterproofed shower pan either gets a flood test (pans filled with water for 24 hours) or a city sign-off before tile goes down. If your contractor can’t produce a photo or record of either, ask why.
- Tile going up the same day the pan was poured. Waterproofing membranes need cure time. If tile is being set hours after the pan was installed, the membrane hasn’t done its job yet.
- No visible membrane or liner. Bonded sheet membrane or liquid-applied waterproofing should be visible in photos of the open shower before tile. Bare gray cement board is a red flag in a wet area.
- Grout being used as the waterproofing. Grout is not waterproof. Neither is thinset. Only the membrane under it is.
In our experience across Westminster bathroom projects, the shower pan is where corners get cut most often because it’s the element the homeowner will never see again. Ask for photos of the waterproofing installed and cured before a single tile goes up.
Drywall in Wet Areas: The Material Warning
Standard paper-faced drywall has no business inside a shower or on a bathroom floor. The correct substrate is cement board, glass mat backer, or a comparable moisture-rated board, and even moisture-resistant (green board) drywall has limits: it handles humidity in the dry zones, not direct water contact.
Watch for these material signs mid-job:
- White paper-faced drywall going up inside the shower or above the tub surround. That’s the wrong material, full stop. It will fail.
- Green board used in place of cement board inside the wet zone. Green board resists humidity in a bathroom, but it does not handle direct water contact and it doesn’t bond correctly with many waterproofing membranes.
- Green board used on a shower ceiling. Ceiling surfaces in a shower get the most condensation. Cement board or a rated product belongs there.
- No vapor barrier behind the substrate. In Westminster’s climate, a properly installed vapor barrier between the framing and the backer board matters, especially where exterior walls are involved.
Ask the contractor to show you the labeled boards before installation. Cement board is visibly different from drywall (grey or greyish-tan, cement-based). If you can’t tell, ask for a photo of the label. A contractor working from a written scope will have the exact substrate specified, and it’s traceable through the brand – the kind of documented material roster we work from at Bradford, where we specify products like Sakrete tile-setting materials and name-brand backer board rather than whatever’s cheapest at the supply house that week.
Drains Rough-Set Without a Slope Test
A shower or floor drain that doesn’t slope correctly doesn’t just pool water – it eventually fails waterproofing. The drain must sit at the correct elevation relative to the surrounding floor, with a consistent slope toward it. When a contractor rough-sets a drain without verifying the slope, water stands in the pan, the membrane degrades, and you get a repair bill measured in demo and re-tile costs.
How to check this during construction, not after:
- Ask for a flood test record. The shower pan should hold water for 24 hours with no drop before tile. If the contractor can’t or won’t do a flood test, ask why.
- Look for a pre-slope under the liner. Code requires a sloped mortar bed under the waterproofing liner, not a flat pan. Photos should show the sloped base before the liner goes down.
- Confirm the drain is a two-stage drain. A two-stage clamping drain with a weep-ring is the standard. A one-piece drain with no weep ring means water can’t escape below the tile layer.
- Ask about a slope test in writing. “We checked drain slope” is not a test record. A written sign-off or a water-level photo is.
Drain slope problems are easy to hide under tile and hard to prove after the fact. The only leverage you have is requiring verification before the tile goes down. This is why the “photos before walls” standard matters so much. If your general contractor in Westminster can’t document the slope test, don’t accept the finished job as compliant.
The ‘Photos Before Closing Walls’ Standard
Every homeowner should demand, in writing, that the contractor photograph every open wall cavity before it gets closed. This is the single most useful protection in the entire remodel, because it converts concealed work into a documentary record that outlives the job.
A proper pre-close photo set needs to show:
- The permit card in frame. The permit card is the physical placard posted at the job site with the permit number and inspector sign-off lines. A photo showing the permit card next to the open wall proves the work being documented matches the permitted scope.
- The inspection sign-off date visible. The inspector signs and dates the permit card. A photo of that date, next to the rough-in work, is your proof the inspection happened when it should have.
- The full wall cavity, top to bottom, before insulation or drywall. Plumbing, electrical, blocking, vapor barrier – all captured.
- The shower pan before the liner and before the mortar bed. Both layers, dated.
- The tile substrate before tile. Cement board, membrane, and the labeling on the board.
- A dated digital file organization. Photos should be timestamped and saved to a shared folder you have access to, not just texted erratically.
Put this requirement in the signed contract as a deliverable, not a favor. A contractor who runs a disciplined job will already be taking these photos. A contractor who resists the request is telling you something. Our General Contractor in Westminster work treats pre-close documentation as standard scope, not an add-on.
Material Substitution and the Change Order Rule
When a contractor swaps a specified material mid-job without a written change order, that’s a contract breach, not a convenience. Common examples: a tile specified as porcelain shows up as ceramic, a premium fixture becomes a builder-grade substitute, cabinet grade drops a tier, or a waterproofing membrane spec quietly disappears from the job. Each swap protects the contractor’s margin at the cost of your finished bathroom.
Under California law, a proper change order on a home improvement contract must contain, at minimum:
- A written description of the change – what material, what quantity, what location.
- The reason for the change – a substitution due to unavailability, a scope adjustment, or a design decision.
- The price impact – a specific dollar figure, credit or charge. “TBD” is not a change order.
- The time impact – how the schedule shifts, if at all.
- The homeowner’s signature and the contractor’s signature, dated before the change is executed.
Verbal “we swapped it because the supplier was out” is not a change order. Neither is a text message with no dollar value. If the contractor substitutes a brand without your signature on a change order, you’re within your rights to refuse the substitution, insist on the specified material, or cancel and recover. This is why our written price and written scope sit in front of every project – the material roster is documented, so a swap can’t happen silently. When we specify KraftMaid cabinetry or Kohler fixtures, that’s in the printout you sign.
The Deposit Escalation Pattern and Draw Schedule Language
The most common financial warning sign in a bathroom remodel isn’t the deposit itself – it’s the pattern of deposits. A contractor who asks for the deposit, then asks for a draw before demolition is complete, then another draw before rough-in inspection, is funding other jobs with your money. This is how bathroom remodels end up as half-finished shells while the contractor works on a more pressing project.
The fix is draw schedule language in the written contract. Standard, defensible language looks like this:
- Deposit – capped at the California legal maximum, paid on contract signing.
- Draw 2 – released on completion of demolition and rough-in inspection sign-off, with inspection records attached.
- Draw 3 – released on completion of waterproofing and tile setting, with photos of both submitted.
- Draw 4 – released on completion of fixtures and final inspection, with the final inspection record attached.
- Final payment – a held-back percentage released only after a documented punch-list walkthrough and the signed 365-Day Done Right Promise is in the homeowner’s hand.
If your contractor won’t agree to a milestone-based draw schedule in writing, that’s a signal. So is any language that permits draws “upon request” without documented milestone completion. Our position is straightforward: written price, written scope, written draw schedule, before a single tool comes out. That’s the standard the Garrison Code sets for us, and any Westminster homeowner can hold us to it.
How to Verify Permits Through the City of Westminster Portal
A contractor who tells you permits were pulled and inspections were passed may be telling the truth, may be rounding, or may be lying. You can verify in about ten minutes, and you should, regardless of what the paperwork says. Here’s the sequence:
- Get the permit number in writing. It appears on the permit card posted at the job site and on your contract. Write it down before any work begins.
- Search the City of Westminster permit portal. Enter the permit number and property address. You should see the permit type, the current status, and every inspection recorded against it.
- Cross-check the inspection dates against the construction timeline. If the portal shows a rough plumbing inspection signed off on a date that matches your job, good. If the portal shows no inspections recorded, the contractor never called them. That’s your signal to stop work.
- Confirm the inspection types match your scope. A bathroom permit should show rough plumbing, rough electrical, and final inspection at minimum. Missing inspection types in the portal are missing inspections in reality.
- Print the portal record before the job closes. Save a PDF. If there’s a later dispute, the portal is your primary evidence.
Westminster’s permit process is one of the strongest protections a homeowner has, and it works only if you actually use it. If a contractor claims inspections were done but the portal shows nothing, call the Building Division yourself before more money changes hands.
Common Mistakes to Avoid
- Assuming “we have permits” means inspections will be called. Pulling a permit is step one. Calling the rough-in inspections and following the sequencing is the actual protection. Verify both through the Westminster portal.
- Trusting texted progress photos with no timestamps. A photo without a date, and without the permit card in frame, doesn’t prove the work was done under inspection. Insist on dated, permit-in-frame photos in writing.
- Accepting a material substitution without a signed change order. A verbal “we had to use a different tile” is a breach, not a courtesy. Require the dollar figure and the signature before the material goes in.
- Releasing draws ahead of milestones. A contractor who needs the next draw before the last milestone is finished is telling you their cash flow is your problem. Tie every draw to documented completion.
- Skipping the pre-demo walkthrough. Before demolition, walk the bathroom with the contractor and confirm the scope, the schedule, the drain locations, the substrate spec, and the waterproofing plan. Every item in writing.
- Letting tile go up before the flood test. In a Westminster bathroom project, a shower pan should hold water for 24 hours with no drop before tile. No flood test, no tile. That’s the rule.
- Not checking that the general contractor’s roster of specified materials is documented. A stated brand and a specified model in the signed scope are what stop silent substitutions. Named materials in writing beat “premium fixtures” language every time.
When to Call a Professional
Call us when you can already see the warning signs mid-job: a contractor who skipped the rough-in inspections, a tile install going up over drywall, a draw request ahead of the milestone, or a material swap without a change order. Call us before you sign a bathroom contract at all, so the written scope, draw schedule, and inspection sequence are in place before the first tool comes out. And call us if you’re picking up the pieces of a half-finished bathroom another contractor walked away from – we’ve rebuilt more than a few of those in Westminster. Bradford Remodeling Co Westminster offers free estimates in Westminster – call (833) 954-5086.
For homeowners comparing scope across rooms, our Kitchen Remodeling in Westminster page is a good reference for how the same discipline looks on a larger project. If you’re also considering whole-home updates, start at our Bradford Remodeling Co Westminster home page to see the full set of services.
Frequently Asked Questions
Tile set before waterproofing inspection, drywall used in wet areas instead of cement board, drains rough-set without a slope test, missed rough-in plumbing and electrical inspections, and material substitutions made without a signed change order. Each of these is a mid-construction warning sign you only catch before the walls close. Call (833) 954-5086 for a free estimate if you want a vetted Westminster contractor to walk the job.
Ask the contractor for the permit number in writing, then search it on the City of Westminster permit portal by address. The record should show every inspection type and every sign-off date. If the portal shows no rough plumbing, rough electrical, or final inspections, the contractor didn’t call them. Call (833) 954-5086 for a free estimate on a properly permitted job.
The permit card in frame, the inspector sign-off date visible, the full wall cavity with plumbing and electrical, the shower pan before the liner and mortar bed, the tile substrate before tile, and a dated digital file the homeowner has access to. Put the requirement in the signed contract as a deliverable. Call (833) 954-5086 for a free estimate – we include pre-close documentation as standard scope.
Yes. A substitution made without a signed change order is a breach. A valid change order describes the material, explains the reason, gives a specific dollar figure, notes any schedule impact, and is signed by both parties before the change goes in. Call (833) 954-5086 for a free estimate – our written scope and material roster sit in front of every project.
A typical full bathroom remodel in Westminster runs in the mid-five-figure range, with material allowances for tile, cabinetry, and fixtures driving most of the spread. Every project we quote gets a written line-item price before work starts, so the number you sign is the number you pay. Call (833) 954-5086 for a free estimate with a written price attached.
Stop work, print the Westminster permit portal record showing zero inspections, and demand a written plan to correct the permitted scope. A contractor who skipped rough-in inspections cannot close the rest of the job to code without exposing the work again. Call (833) 954-5086 for a free estimate on a corrected scope if you need a second contractor to take over.
The Bottom Line
Bathroom remodels fail in the middle of the job, not at the end. The warning signs – tile over unwaterproofed pans, drywall in wet areas, missing rough-in inspections, silent material swaps, draws ahead of milestones – are all visible during construction if you know what to look for. Demand permit documentation and inspection records through the City of Westminster portal. Require dated photos with the permit card in frame before any wall closes. Put your change order process and draw schedule in writing. And work with a contractor whose written price, written scope, and 365-Day Done Right Promise all sit in a single signed document before the first tool comes out. That’s the entire protection, and it doesn’t cost anything extra to insist on.
Bradford Remodeling Co Westminster is part of the Garrison Partners family and operates independently under the Garrison Standard. Our technicians have up to 22 years of experience, every job is background-checked and uniformed, and every project carries the full-year written guarantee. Call (833) 954-5086 to schedule your free estimate.
Written by the team at Bradford Remodeling Co Westminster.
See the difference
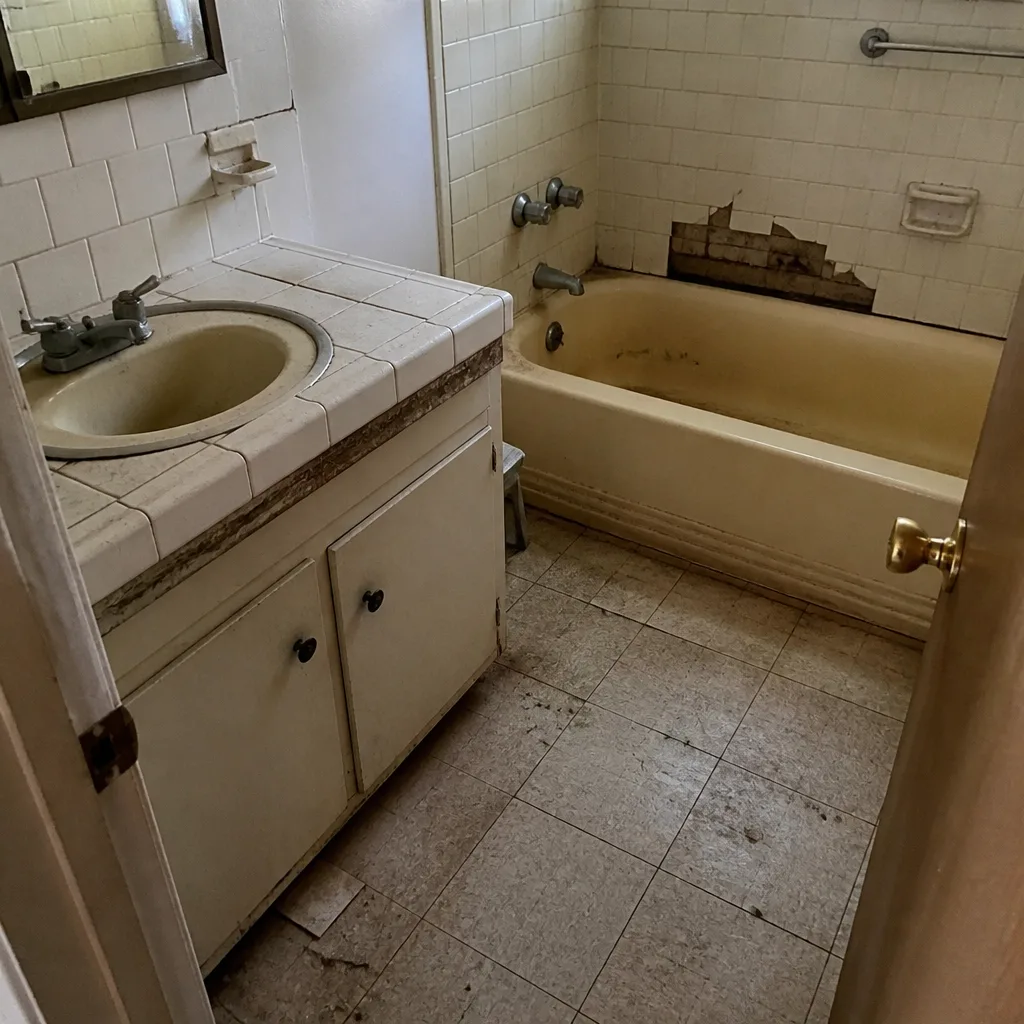 Before
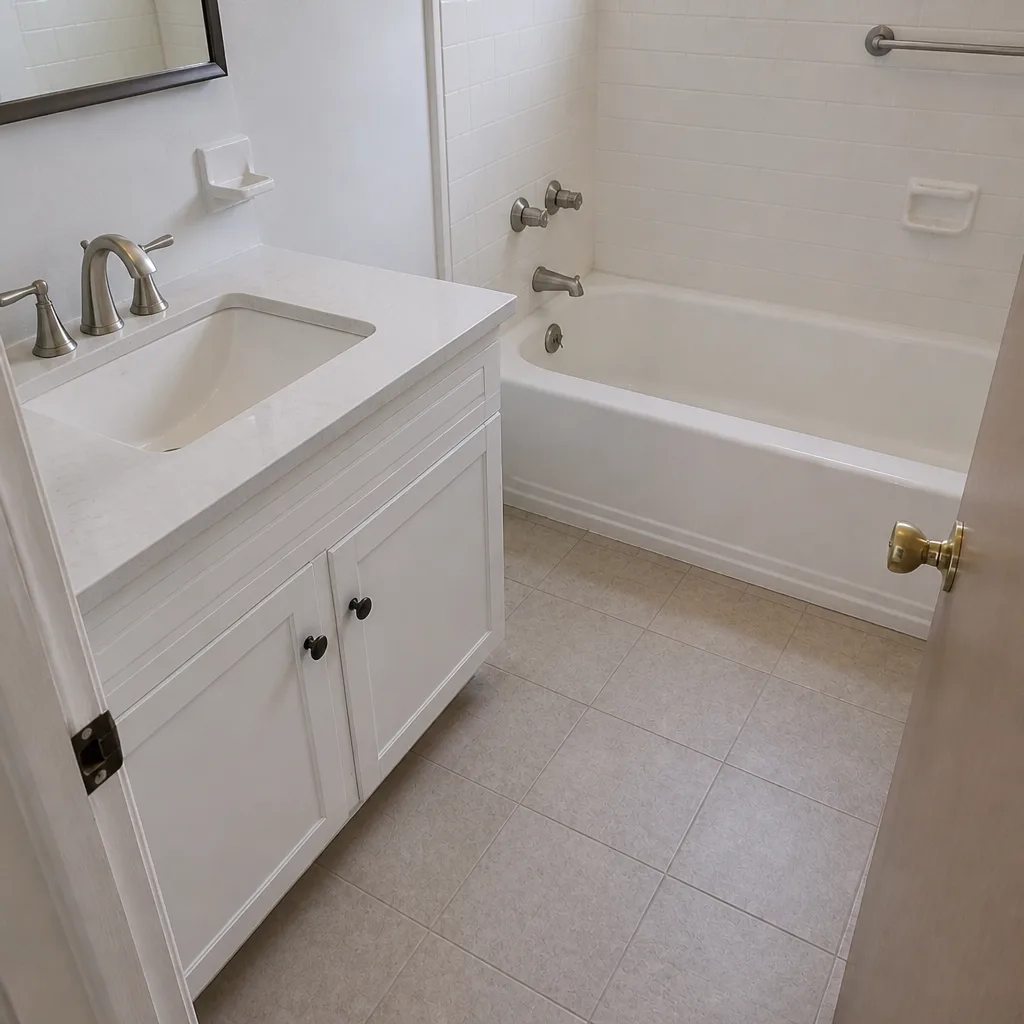 After
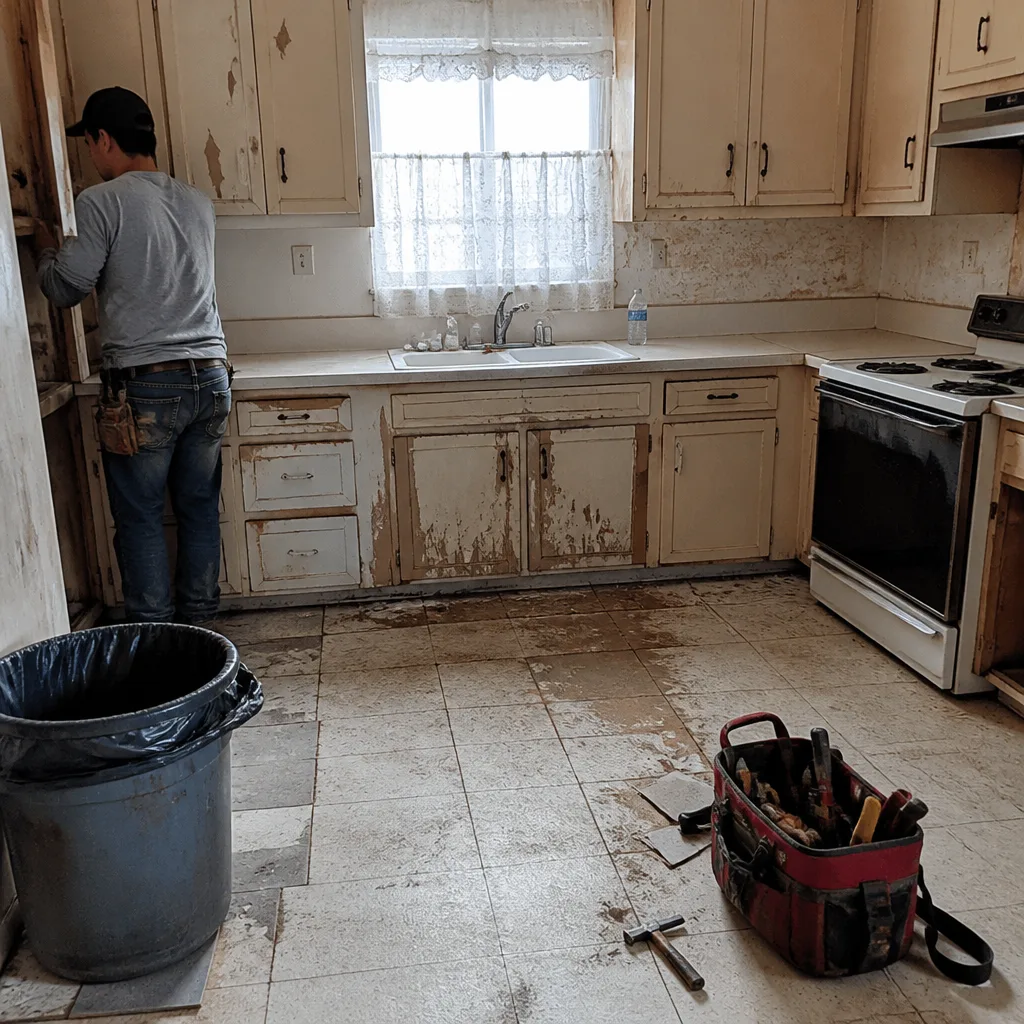 Before
 After
 Before
 After