Last updated November 17, 2026








Free written scope consultation - allowances, timeline, and change-order rules on paper before a single trade is scheduled
Home Remodeling Maintenance Schedule: What to Do and When
Most remodeling warranties include a clause that voids coverage if the homeowner skips routine maintenance. Almost no contractor says that at the walkthrough. You get the folder of paperwork, a handshake, and a vague reminder to “keep an eye on things.” Then life moves on. Eighteen months later a tile pops loose or a cabinet door sags, you call for service, and you find out the guarantee doesn’t apply because nobody ever tested the grout for water penetration.
This guide fixes that. What follows is a real maintenance schedule for the work you paid for, built around warranty checkpoints instead of a generic spring-cleaning list. You’ll learn which tasks protect your guarantee, which ones you can do yourself, which ones require a licensed trade, and how to document the whole thing so it holds up if you ever have to file a claim. It’s written for Westminster homes specifically, which means we’re accounting for mild winters, serious UV exposure, and the Santa Ana wind seasons that push grit into every exterior joint.
Quick Answer
A home remodeling maintenance schedule has three tiers: a 30-day post-project checklist that catches install issues while the guarantee is fresh, a 6-month seasonal walkthrough that handles grout, caulk, and drainage before the next weather shift, and annual deep checks on exterior systems like roofing, windows, and hardscaping. Documenting each check with dated photos and notes is what makes your warranty defensible. Skip them, and you’re taking warranty coverage on faith.
Styles & brands we work with
- Kitchen remodeling
- Bathroom remodeling
- Home additions & ADU
- Roofing
- Windows & doors
- Driveway & pavers
- Fence
Table of Contents
- Why Your Remodel Warranty Depends on a Maintenance Schedule
- The 30-Day Checkpoint: The Most Important Month
- The 6-Month Walkthrough: One Task Per Trade
- The Annual Deep Check: Exterior Systems and Hardscaping
- DIY vs. Licensed Trade: What Keeps Coverage Intact
- Settling vs. Defect: How to Tell the Difference
- The Westminster Climate Checklist: UV, Wind, and Salt Air
- Documenting Your Maintenance So a Claim Actually Holds
Why Your Remodel Warranty Depends on a Maintenance Schedule
A warranty is a two-way agreement. Your contractor promises the work will hold, and in exchange the homeowner promises to maintain normal conditions around that work. When a claim gets denied, it’s often not because the work failed on its own. It’s because the failure traces back to something the homeowner never touched: a clogged gutter line feeding a window, an unsealed grout joint pulling moisture under a tile, or a dryer vent left packed with lint behind a freshly built cabinet run.
This matters more in a coastal-adjacent climate like Westminster than people expect. Our area doesn’t see real freeze-thaw cycles, so the biggest threats aren’t ice. They’re UV degradation, blowing dust during wind events, and moisture intrusion through failed exterior seals. That changes what “routine maintenance” means for a remodeled home here compared to, say, a house in the Midwest.
We’ve seen a homeowner in the Westminster Village area lose a tile repair claim because the shower grout hadn’t been sealed since install. We’ve also seen an exterior paint touch-up claim get denied because mulch had been piled against the siding for a year, holding damp against the substrate. Neither homeowner did anything wrong on purpose. They just didn’t know the maintenance clock started the day the crew walked off site.
Every project we finish comes with the 365-Day Done Right Promise, which means if the work fails within a year, we come back and correct it at no charge. That’s a written guarantee, not a verbal one. But it works best when the homeowner knows which tasks are on them and which are on us. Here’s what that looks like on paper.
The 30-Day Checkpoint: The Most Important Month
The first month after a project closes is when install issues show themselves, and it’s also the easiest window for a contractor to fix them at no cost. Why 30 days? Materials are still settling into place. Caulk is curing. Wood is settling after being moved indoors. Any pinch points in an installation will start to show in that window.
Walk your own project with a notepad and camera around day 25 to 30. You’re looking for changes, not perfection.
- Test every door and window for drag. A door that stuck on day one is a defect. One that’s started dragging after three weeks is usually settling and needs adjustment.
- Press on every tile and stone edge with a fingertip. A hollow sound means a bond broke. That falls on the contractor, not you.
- Inspect caulk lines at every sink, tub, and backsplash corner. Look for cracks, hazing, or separation. In our experience, cabinets and shelves that sag quickly at 30 days mean a fastener wasn’t set into a stud. That’s a callback item, not a homeowner repair.
- Open and close every drawer and cabinet door fully. Look for gaps that changed since install.
- Check for water at the base of every cabinet under a sink. Take photos of the water lines and the cabinet base. Even a slow weep is worth a note.
- Test the fresh paint for tackiness in the first week after install. If it’s still soft at 30 days, that’s a paint or cure issue.
If something looks off, don’t try to fix it yourself. Every homeowner repair inside a warranty window risks voiding the coverage on that item. Document it, then call the contractor. This is the last checkpoint before the work settles into the state it will live in for the rest of the year.
The 6-Month Walkthrough: One Task Per Trade
At the six-month mark, the remod–done part is over. Now you’re maintaining it. Six months in, grout, caulk, and expansion joints have had a real-world test in your home’s humidity and temperature swings. This is the first maintenance window that’s fully on the homeowner, and it’s the one most often skipped.
Think of this walkthrough as one item per trade, not a full house inspection. Six tasks. Roughly a two-hour Saturday.
- Tilesetter’s mark: re-seal kitchen and bathroom grout. Grout that was sealed at install is usually due for a re-seal at around six to twelve months, especially in high-use showers. You can do this yourself with a penetrating sealer from a hardware store. Don’t use topical coatings; they trap moisture.
- Carpenter’s mark: check cabinet hardware screws. Run a screwdriver over every cabinet pull, drawer glide, and shelf bracket. A loose screw at six months is harmless. A loose hinge over a full year can tear the cabinet face.
- Plumber’s mark: test the pressure relief valve and shutoff. Cycle every quarter-turn shutoff under the sinks. Open and close once. If it’s seized, that’s a call to a plumber. Don’t force it.
- Painter’s mark: inspect exterior caulk lines. On the sun-exposed sides (south and west-facing walls in most Westminster homes), look for cracking or lifting at trim joints and window frames. Nobody does this at 30 days. Six months is when UV exposure starts to show.
- Roofer’s mark: clear gutters and downspouts. Even in dry stretches, wind deposits dust and debris. A clogged downspout is one of the top causes of exterior siding failure calls we see.
- Floorer’s mark: check the perimeter expansion gaps. Wood and laminate floors need a gap at the walls to move. Look under the base shoe if you can. If a floor is starting to buckle at the room edge, that’s a maintenance issue, not a defect.
If any of these fail, note the date, take a photo, and call the contractor if the item falls inside the 365-Day Done Right Promise window. If it’s outside the window or a maintenance item, a general contractor in Westminster can scope the repair accurately.
The Annual Deep Check: Exterior Systems and Hardscaping
Once a year, do the big pass on everything the weather hits hardest. In Westminster, that usually means the roof, windows, exterior doors, and any concrete or paver work you’ve had done. Schedule the annual deep check in early fall before the wind season kicks up, so any vulnerable joints get sealed before they get tested.
Here’s the annual list, with the specific things that matter on a Westminster home:
- Roof: Walk the ground with binoculars and look for lifted or missing shingles, especially at the ridge and along the south and west slopes. If your remodeling included a new GAF or CertainTeed system, inspect the manufacturer warranty terms for what maintenance is required. Most require annual inspection to hold coverage.
- Windows and exterior doors: Check every window frame, sill, and door threshold for caulk failure. On premium brands like Therma-Tru, the unit itself is often fine; the seal around the frame is what fails. That’s a maintenance item and easy to overlook.
- Exterior siding and trim: Caulk any joint that’s opened by more than 1/8 inch. James Hardie fiber cement handles UV well, but the joints between panels and trim still need annual attention. Look for paint chalking on south-facing walls.
- Concrete flatwork and hardscaping: Inspect every expansion joint. These joints are supposed to widen and close with temperature; that’s normal. What you’re checking for is joint filler that has pushed up, disintegrated, or separated. Re-fill with flexible caulk, not rigid grout. On Belgard or Unilock pavers, check for any paver that has lifted or tilted, which can indicate a base issue.
- Decks and railings: Check for loose fasteners at rail posts. A post that moves more than a quarter inch at the base is not a maintenance item; get it inspected.
If you had a bathroom remodel in Westminster that moved plumbing or tile, add the annual check of the shower pan and drain to this list. That’s a task most homeowners never think of and it protects both the tile and the floor below it.
DIY vs. Licensed Trade: What Keeps Coverage Intact
Here’s the distinction that saves homeowners the most grief: some tasks you do yourself, and some tasks require a licensed trade to maintain your warranty. Doing the wrong one yourself can void coverage on the item you’re trying to protect.
Safe homeowner maintenance:
- Re-sealing grout and caulk with a penetrating sealer
- Cleaning gutters and downspouts
- Tightening cabinet hinges and drawer screws
- Changing air filters and clearing exterior vents
- Testing shutoff valves by cycling them
- Replacing flexible weatherstripping
- Re-securing furniture, art, and wall hangings
Tasks that should go to a licensed trade:
- Anything involving the electrical panel, new outlets, or GFCI replacement
- Any gas line work, even a small adjustment to a range or dryer connector
- Roof-level work, especially anything above single-story reach
- Any plumbing that requires opening a wall or cabinet base
- Structural repair, sill plates, or anything that changes how a load transfers
- Re-caulking exterior windows if the underlying frame needs repair
If a maintenance task falls into that second list and your project is inside the guarantee window, don’t touch it. Call your contractor. This is where a kitchen remodel in Westminster tends to show its first issue, and a plumber’s visit under a warranty is usually a paid trade call the homeowner didn’t need to make.
Electrical and gas work in particular is a genuine safety line. Anyone giving you a step-by-step on re-wiring an outlet or re-seating a gas connector is not doing you a favor. That work belongs with a licensed electrician or plumber.
Settling vs. Defect: How to Tell the Difference
Most homeowners either panic at every crack or ignore every one. Neither is right. Settling is normal, expected movement, and a warranty is designed around it. A defect is a failure outside normal movement. The trick is knowing which is which.
Normal settling looks like:
- Hairline cracks in drywall at inside corners, especially near ceiling joints, in the first six to twelve months
- A door that drags slightly more in one season than another
- Small gaps opening at trim-to-drywall seams
- Caulk joints that shrink slightly as caulk cures
- Grout lines that crack at the shower corners (corners are meant to move)
What’s usually a defect:
- Any tile that sounds hollow when tapped, no matter how small the area
- Cracks that run through a tile, not along a grout line
- A cabinet box that pulls away from the wall, not just a door that needs adjustment
- Doors that swing open on their own, or gaps larger than a quarter inch at the frame
- Any crack that widens over a period of weeks; take photos with a tape measure next to the crack
- Water staining at the base of a cabinet or under a window sill
If you’re not sure which category a change falls into, document it and call. We’d rather look at a photo of a hairline crack and say “that’s settling, nothing to fix” than see a photo at month eleven of a real defect the homeowner noticed at month three and ignored.
The Westminster Climate Checklist: UV, Wind, and Salt Air
Westminster doesn’t have hard winters. That’s good for the house and bad for your maintenance instincts, because homeowners here tend to skip seasonal checks that cold-climate owners wouldn’t dream of missing. The climate-specific threats in our area are different from what most maintenance advice assumes.
The three real factors:
- High UV exposure. South and west-facing surfaces get more direct sun year-round than similar homes inland. That means faster caulk failure, faster paint fading, and faster degradation of any flexible seal on your exterior. Check south and west walls more often, roughly every six months instead of annually.
- Santa Ana wind seasons, typically late fall through early spring. The wind deposits dust and grit into every exterior joint and pushes minor gaps into real ones. Before the season, re-seal exterior joints and clear roof valleys. After the season, do it again.
- Salt air from the coast. It’s mild in Westminster compared to beachfront homes, but it still accelerates corrosion on metal hardware, hinges, screws, and window fasteners. Check exterior metal fixtures annually for rust that’s visibly pitting, not just surface blush.
The good news: no freeze-thaw means you don’t need to worry about a lot of the concrete cracking that empties contractor schedules in cold markets. What we do see is concrete joint failure from heat cycling and sun exposure. Check those expansion joints every year.
We’ve found a lot of the window brands installed in Westminster homes, including CWS and ES Windows units, hold up well to the sun as long as the seals between the frame and the wall are checked on schedule. That seal is the maintenance item, not the window itself.
Documenting Your Maintenance So a Claim Actually Holds
Warranty claims get denied all the time over one simple gap: the homeowner did the maintenance but has no record of it. A written guarantee is only as strong as the paper trail behind it. If you call at month ten about a tile failure and there’s no record of annual maintenance, the claim becomes an argument. If there’s a photo log, it’s a straight service call.
Build a simple maintenance file the day your project closes. Here’s what to include:
- Your closing packet. The written price, the scope document, and the signed guarantee. All in one folder, physical or digital.
- A dated photo log. Every maintenance task gets a photo with a date stamp. Phone photos are fine. Take a before-and-after of each task.
- Receipts for anything you bought. Sealer, caulk, filters. Receipts are simple proof that the maintenance actually happened.
- A single sheet of maintenance notes. Date, task, what you found, and what you did about it. Two lines per task. No special format.
- Every contractor visit. If a tradesperson comes out to do a covered repair, keep the invoice and their name off it; just keep the invoice and the service notes.
When you call for a warranty visit, you don’t need to send the whole file. Just be able to reference it: “I re-sealed the shower grout on September 14 and I have photos.” That’s the whole conversation.
Common Mistakes to Avoid
- Skipping the 30-day walkthrough because everything “looks fine.” The 30-day window is the cheapest repair window you’ll ever have. Most install issues are silent for the first few weeks and then show up as a real repair at month six.
- Caulking over a wet joint. If you seal a wet joint without letting it dry, you trap moisture inside and create a worse problem. Wait for a dry stretch, especially in Westminster’s wind season, when grit and dust can get into the joint first.
- Using topcoat grout sealer on a fresh remodel. Penetrating sealer only. Topical coatings trap moisture and eventually peel, and most tile warranty language is written around penetrating applications, not coatings.
- Piling mulch against the siding. It’s the most common self-inflicted siding failure we see. Keep at least 6 inches of clear space between the top of the mulch and the bottom edge of the siding.
- Skipping the roof and window seal check because “we don’t get weather here.” Westminster’s UV exposure and wind seasons are harder on exterior seals than a lot of cold-climate markets. This is exactly the maintenance people skip here.
- Not keeping any records. A homeowner who does every task but can’t prove it is in a weaker position than a homeowner who skipped half and has dated photos of the half they did.
- Doing a task that should be done by a licensed trade. Electrical panel work, gas lines, and roof-level repairs are where maintenance becomes dangerous. That’s not a DIY list.
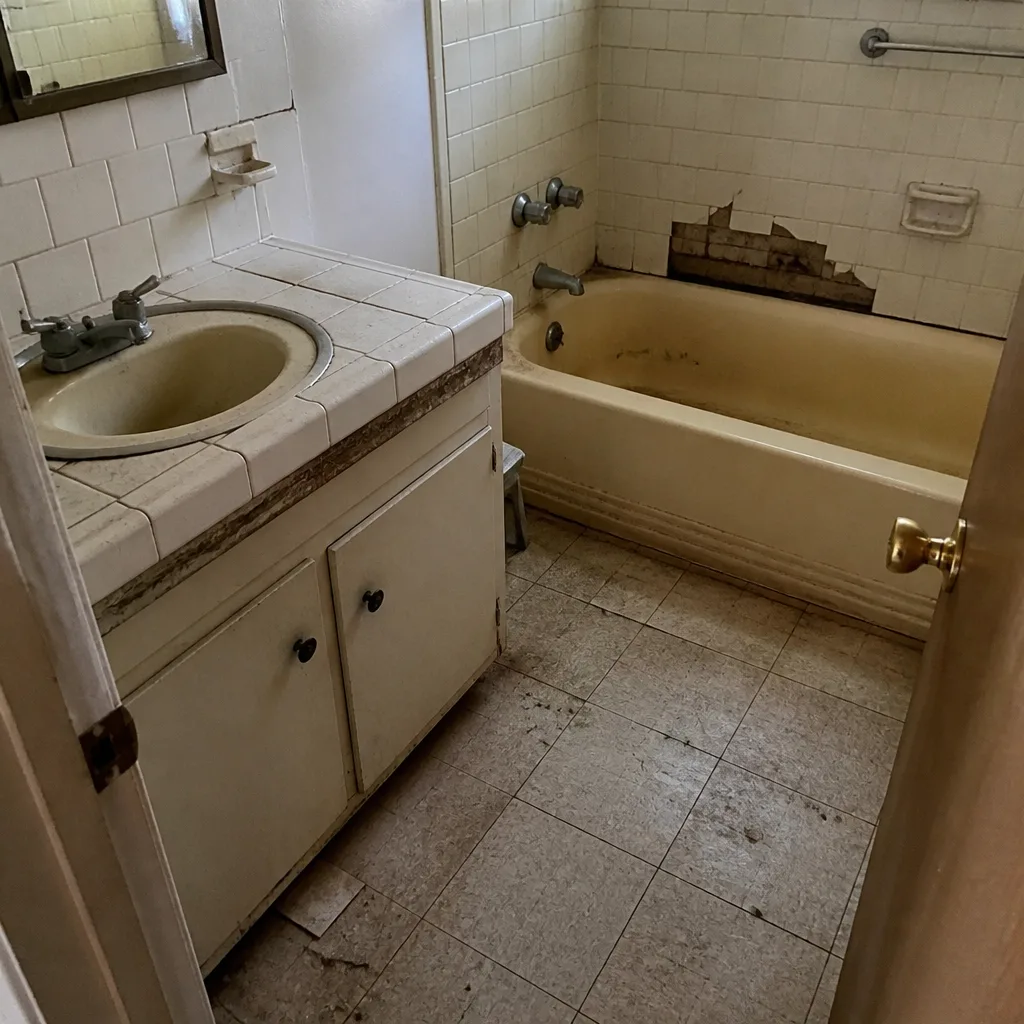
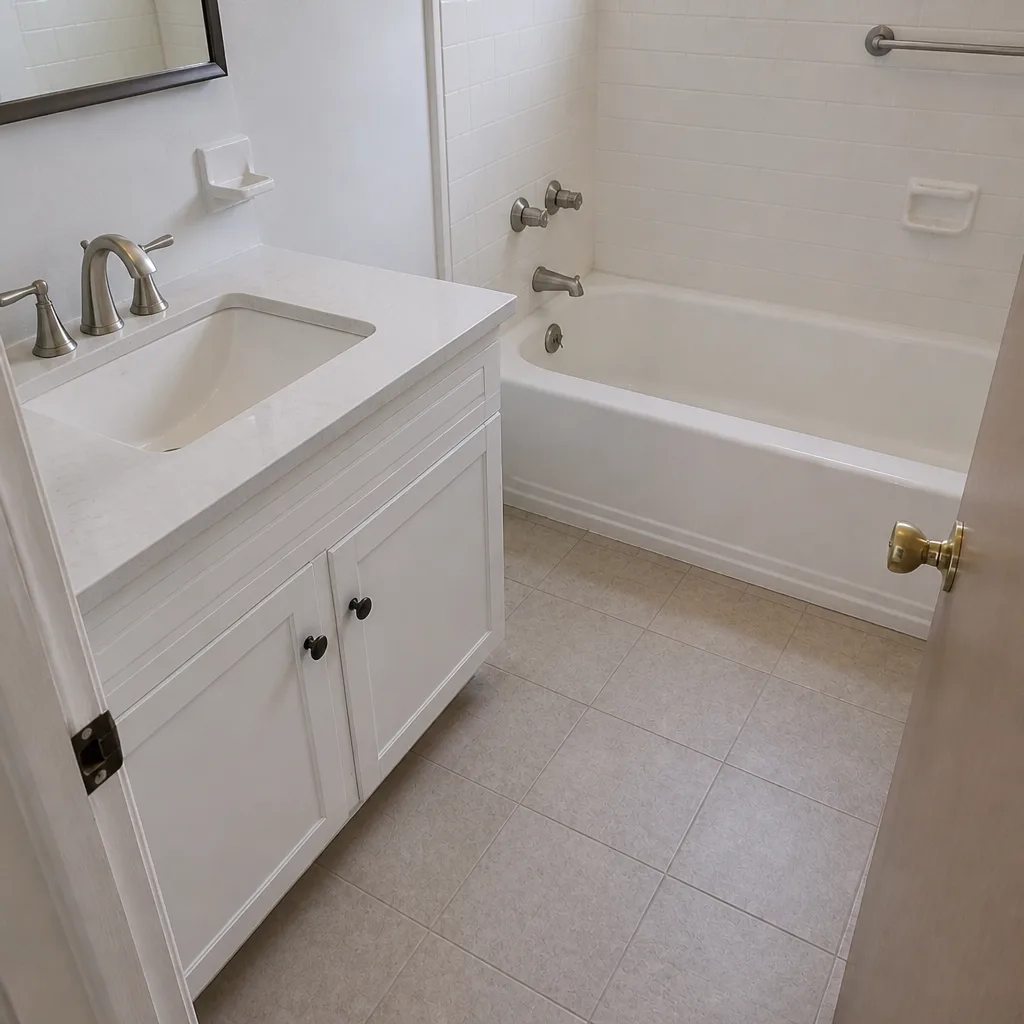
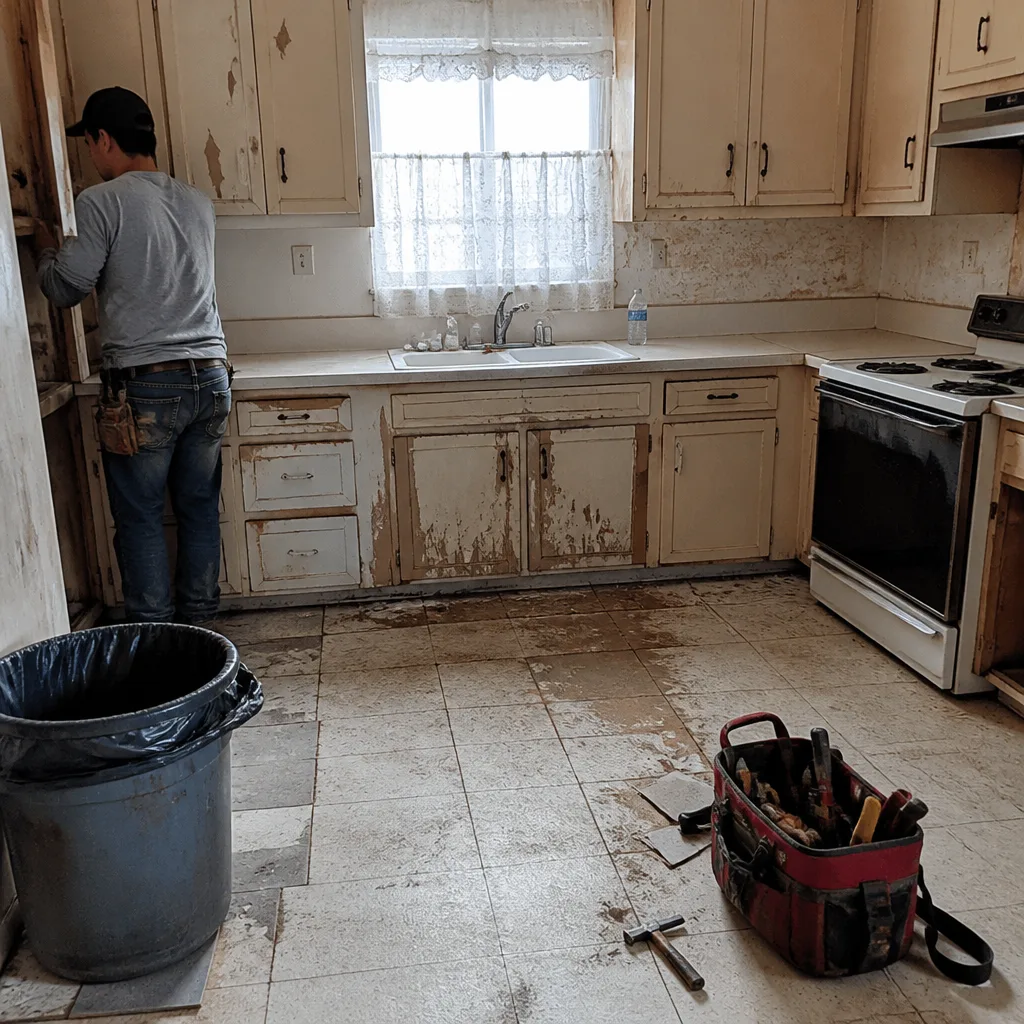
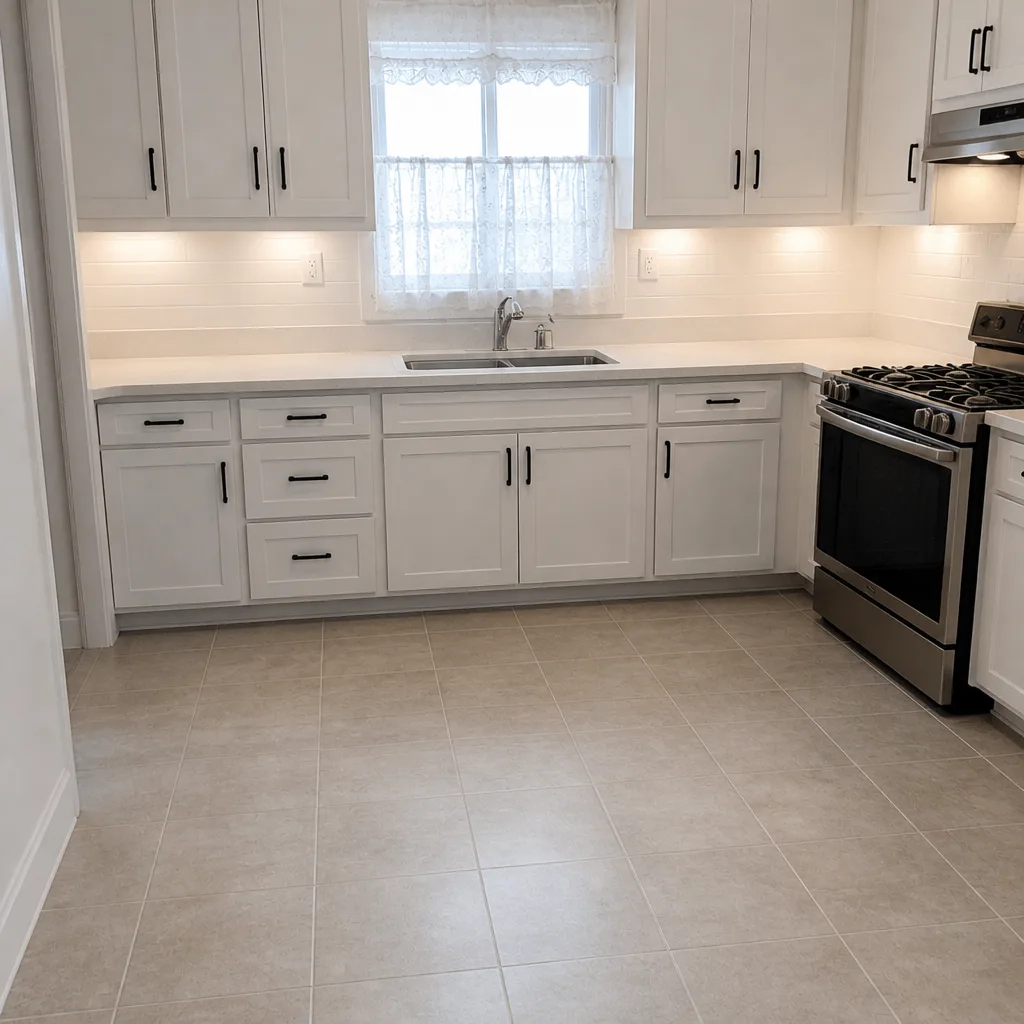
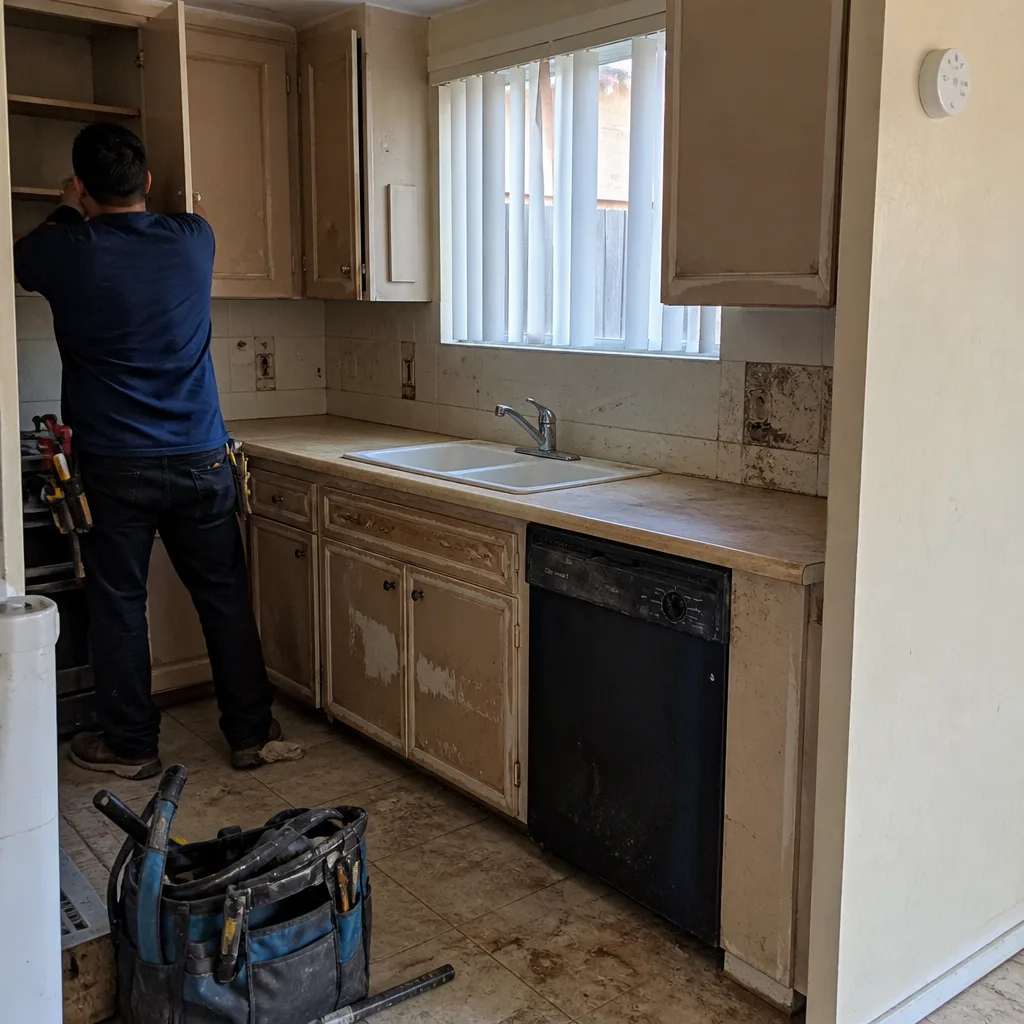
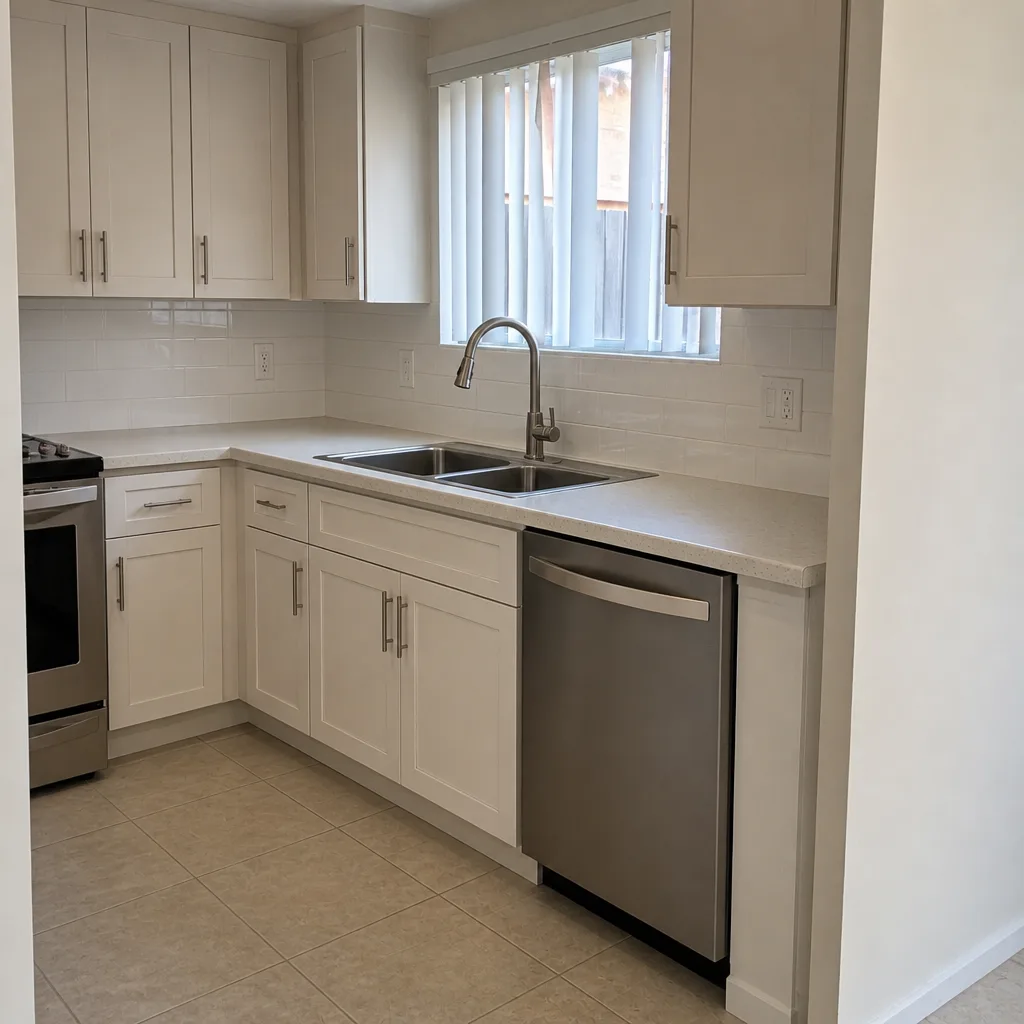
See the difference
 Before
 After
 Before
 After
 Before
 After
When to Call a Professional
Call for any change you can’t confidently categorize as settling. Call for water intrusion of any kind, whether it’s under a cabinet, at a window sill, or along a floor edge. Call for any tile sounding hollow, any crack widening over weeks, any door or cabinet failure inside a year that doesn’t respond to a simple adjustment. Call before doing anything that requires opening a wall, touching a gas line, or walking a roof. And call well before the guarantee window closes on anything you’re concerned about; the 365-Day Done Right Promise covers the work for a full year from completion, and a service visit costs you nothing but a phone call.
Bradford Remodeling Co Westminster offers free estimates in Westminster. Call (833) 954-5086 and a person picks up, any hour of the day. That’s the whole pitch: a written price before any work starts, a signed guarantee at close, and a crew that comes back if something doesn’t hold.
Frequently Asked Questions

Yes, in most written guarantees. A typical contractor warranty covers defects in workmanship and materials, but not failures caused by homeowner neglect, including missed sealing, clogged drainage, or blocked vents. The remedy is simple: do the maintenance and keep the records.
It depends on the item. Re-sealing shower grout runs a couple hundred dollars; a tile replacement from moisture damage runs several hundred to over a thousand; exterior siding repair from mulch contact or failed caulk can climb into the thousands. The maintenance task itself typically costs $20 to $60 in materials. Call (833) 954-5086 for a written price on any repair – estimates are free.
Settling is normal movement: hairline cracks at inside corners, seasonal door drag, small trim gaps. A defect is a failure outside normal movement: hollow tile, cracks through tile, a cabinet pulling from the wall, or any crack that widens over weeks. When you’re not sure which you have, take a dated photo and call.
No. Grout sealing, caulk checks, gutter cleaning, cabinet tightening, and filter changes are homeowner tasks. Electrical, gas line, roof-level work, and any repair that opens a wall should go to a licensed trade. Doing one of those yourself can void the warranty on the item you’re trying to protect.
Yes. Westminster has minimal freeze-thaw, so concrete cracking is less of a concern than in cold markets. But high UV exposure and Santa Ana wind seasons make exterior caulk and seal checks more frequent, roughly every six months rather thanannually. South and west-facing walls age fastest.
Keep a dated photo log, receipts for materials you bought, a two-line note for each task, and your closing packet with the written price and signed guarantee. When you call for a warranty visit, a simple reference to the date and a photo is enough. Don’t send the whole file.
The Bottom Line
A remodeling maintenance schedule is really a warranty schedule. Handle the 30-day walkthrough, run the six-month walkthrough one task per trade, and do the full annual pass on exterior systems before Westminster’s wind season. Know which tasks you can do yourself and which ones need a licensed trade. Document all of it with dated photos and simple notes. That maintenance file is what makes a written guarantee mean something when you actually need it.
The 365-Day Done Right Promise covers the work for a full year from completion. What it doesn’t cover is a home where nothing gets checked until something fails. If you had work done and want a maintenance walkthrough with a written scope and a fixed price, call Bradford Remodeling Co Westminster at (833) 954-5086 for a free estimate. A live person answers, any hour.
Written by the team at Bradford Remodeling Co Westminster.