Last updated November 17, 2026



Free written scope consultation - allowances, timeline, and change-order rules on paper before a single trade is scheduled
Kitchen Remodeling Troubleshooting: Common Problems and How to Fix Them
A cabinet door that won’t hang level after installation isn’t always a hinge problem. More often, it’s a plumb issue in the cabinet box itself. Adjusting that hinge will move the symptom without touching the cause, and the door will drift again within six months. Every year, we walk into kitchens in Westminster where a homeowner has been fighting the same crooked door for a decade, tightening screws that were never the issue. The problem was always behind the face frame.
This guide covers the four failure points where most kitchen remodel problems originate: cabinet installation, countertop fabrication, plumbing rough-in, and ventilation. You’ll learn a specific diagnostic test for each, how to tell a defect from normal settling, and when the fix belongs in your hands versus a licensed pro. If you’re in the middle of planning your own kitchen, the diagnostic mindset here applies before work starts, too. It’s the difference between catching a problem during punch list and catching it a year later.
Quick Answer
Most kitchen remodel problems trace back to one of four areas: cabinet boxes that weren’t installed plumb, countertop seams that open from substrate movement, rough plumbing with wrong-length trap arms or missing cleanout access, and exhaust fans that spin but move almost no air. Each has a fast diagnostic test: a level on the cabinet face, a straightedge across the seam, a tape measure on the trap arm, and a 30-second tissue test on the fan. Identify which failure point you’re dealing with first. The correct fix depends entirely on getting that diagnosis right.
Styles & brands we work with
- Kitchen remodeling
- Bathroom remodeling
- Home additions & ADU
- Roofing
- Windows & doors
- Driveway & pavers
- Fence
Table of Contents
- How Do You Fix a Cabinet Door That Won’t Hang Level?
- Why Do Countertop Seams Open or Crack After Installation?
- How to Test Whether Your Kitchen Exhaust Fan Actually Works
- The Most Common Rough Plumbing Errors in Kitchen Remodels
- Why Cabinets Feel Crooked Even When Doors Look Right
- How to Document a Kitchen Remodel Defect Correctly
- Common Mistakes to Avoid
- When to Call a Professional
How Do You Fix a Cabinet Door That Won’t Hang Level?
The fix depends on the cabinet box, not the hinge. Before you touch a screwdriver, test the box itself. Run a 24-inch spirit level vertically against the cabinet face frame on the hinge side. If the bubble is off by more than 1/16 inch over two feet, the box isn’t plumb, and that’s your cause. A door will never hang square on a box that’s leaning.
If the box is plumb but the door isn’t quite square against the frame, that’s a hinge alignment issue and it’s within your control. Here’s the diagnostic sequence:
- Check plumb first. Level against the face frame, vertical and horizontal. More than 1/16 inch out and you’re looking at a shim job behind the box.
- Check the reveal. The gap between door and frame should be even on all four sides (typically 1/8 inch). Uneven reveal with a plumb box means hinge adjustment.
- Check for racking. Diagonal measurements from corner to corner of the cabinet opening. More than 1/8 inch difference between the two diagonals means the box is twisted.
- Check the hinges last. European concealed hinges have three adjustments: up/down, left/right, and in/out. Most drift after installation is resolved with 1/4 turns of the small screws, not wholesale replacement.
If the diagonal measurement shows racking, or the level shows more than 1/16 inch of lean, the box needs to come off the wall, be shimmed, and be re-anchored. That’s not a hinge job. In our experience working kitchens across Westminster, most “my cabinet doors hang crooked” calls end with a shim and a re-level, not a hinge swap. If you’re pulling existing cabinets to fix this properly, the broader work overlaps with kitchen remodeling in Westminster.
Why Do Countertop Seams Open or Crack After Installation?
Countertop seams open because something below the stone moved. The seam is usually the symptom. The cause is the substrate (the plywood or particleboard deck under the stone), the cabinet run itself, or the splice adhesive used during fabrication. Here’s how to tell which one you have:
- Thin, even, slightly wider than a hairline: normal seasonal movement. Cambria and Caesarstone both expand and contract with seasonal humidity, particularly in coastal climates like Westminster’s, where marine air keeps indoor humidity swings real. A gap up to 1/32 inch that opens in summer and closes in winter is normal.
- A gap that stays wide and grows over months: either the fabricator used the wrong adhesive at the seam or the substrate isn’t continuous across the seam. This is a fabrication defect, and it falls under the manufacturer’s installed warranty in most cases.
- A crack that starts at a corner or sink cutout: that’s an installation error almost every time. Corners and cutouts are stress concentration points. If the substrate wasn’t properly built up there, or if the stone wasn’t back-buttered, movement cracks appear along those lines within 12 months.
- A crack running across a cabinet seam below: the cabinets have shifted. Two cabinet boxes sitting at different heights put a stress point right into the stone above. Address the cabinets before you address the counter.
Place an 8-foot straightedge across the seam. A gap under the straightedge larger than 1/16 inch tells you the substrate is uneven. Run a digital level on both cabinet runs to confirm they’re at the same height. If they aren’t, that’s the fix. Caesarstone and Cambria both specify continuous substrate with no more than 1/8 inch deflection over eight feet. In our experience, kitchens we’ve worked on in Westminster’s older neighborhoods often have original cabinets that were installed with 1/4 inch variance, and the new stone sits on top of that variance until it cracks. If you’re considering new stone surfaces, general contractor in Westminster scope work usually includes the substrate remediation along with the install.
How to Test Whether Your Kitchen Exhaust Fan Actually Works
An exhaust fan that turns on isn’t necessarily an exhaust fan that works. The most common kitchen ventilation failure is a fan spinning at speed but moving almost no air, because the duct behind it is undersized, disconnected, or crimped at a bend. Here’s the tissue test that takes about 30 seconds:
- Turn the exhaust fan on high.
- Hold a single sheet of tissue paper up to the grille. It should pull tight against the grille and stay there.
- Wait five seconds. A working fan holds the tissue flat. A weak fan drops it, curls the edge, or holds it slack.
- If the tissue barely lifts, take the grille off and re-test directly against the opening.
- If the tissue still won’t hold, the problem is in the duct run or the fan blade, not the grille.
Two failures produce the same symptom: a fan rated at 300 CFM moving less than 80 CFM because of a long run of 6-inch flexible duct, and a fan that terminates in the attic instead of through the roof. Both are code issues. The International Residential Code requires kitchen exhaust to terminate outdoors. A duct ending in the attic is a moisture problem waiting to happen and will fail inspection.
The design rule: short runs, rigid duct, as few elbows as possible. A 6-inch rigid duct with a maximum of 60 equivalent feet handles most standard 300 to 600 CFM fans. Flexible duct with corrugations doubles the friction, and three elbows can effectively kill a fan’s airflow even when everything is connected. In Westminster kitchens we’ve inspected, the most frequent ventilation failure is a homeowner-installed fan that ducts into a nearby soffit rather than through the roof or wall, and it recirculates more than it exhausts. If you’re planning ventilation changes during a broader remodel, the duct work is normally coordinated with the trades doing bathroom remodeling in Westminster at the same time.
The Most Common Rough Plumbing Errors in Kitchen Remodels
Three rough plumbing mistakes show up over and over in kitchen remodels. Each has a specific tell, and each has a different answer for whether you can fix it yourself.
Wrong Trap Arm Length
The trap arm is the horizontal pipe between the sink trap and the stack. Code (Uniform Plumbing Code, used in California) requires the trap arm to be long enough that the trap stays primed and short enough that it vents correctly within the distance allowed by pipe diameter. An 1-1/2 inch trap arm running more than 42 inches unvented is a code violation. You’ll see it as gurgling drains, sewer smell in the cabinet, or slow sink drainage after a few weeks. This is often caused by moving the sink during the remodel and reusing the existing drain location. Correcting it involves cutting into the wall or floor for a new vent or drain location, and that requires a licensed plumber.
Missing Cleanout Access
Code requires a cleanout access for the kitchen drain line. The access needs to be reachable without cutting drywall. If a remodeler buried the cleanout behind finished cabinetry, you have no way to rod the line when it eventually clogs. You’ll find out at the worst moment (kitchen sink backing up on a Sunday). This fix is almost always drywall or cabinet work to create an access panel, and it’s a job for the contractor who installed the line.
Undersized Supply Lines
Kitchen sinks with a modern pull-down faucet and a separate filtered-water tap need 1/2 inch supply lines at minimum. Reusing old 3/8 inch lines from a 1980s installation looks fine until you turn on both the faucet and the dishwasher at once and lose pressure. Check the stop valve under the sink: if the line coming out is 3/8 inch copper or PEX and the fixture spec sheet calls for 1/2 inch, you have a problem. A licensed plumber normally handles supply line replacement because the stop valve needs to be replaced at the same time.
If you’re working with a contractor on a broader kitchen scope and need to know who pulls the permits for plumbing changes, ask before work starts. On Bradford Remodeling Co Westminster projects, plumbing is done by a licensed plumber with permit pulled, and the rough-in is inspected before the wall goes back up. That sequence is not optional.
Why Cabinets Feel Crooked Even When Doors Look Right
A kitchen can pass a casual glance and still be wrong. The tell is in the cabinet boxes, not the door faces. Boxes installed out of square to the wall produce a list of small problems that show up over the first year: drawers that stick on one side, doors that open and close differently depending on whether the counter holds weight, fillers that gap at the top or bottom.
Here’s a diagnostic you can run in ten minutes:
- Wall-to-cabinet gap test: slide a piece of paper between the cabinet back and the wall along the whole run. It should catch at the same depth everywhere. If it goes through easily in the middle and catches at the ends, the wall bows and the cabinets have been shimmed to a false straight edge.
- Cross-run level test: a 4-foot level across three or more adjacent cabinet fronts. More than 1/8 inch of lean over the run means a box somewhere isn’t plumb.
- Door parallel test: stand back 6 feet and look across the top edge of the doors. If one door sits higher than another by more than 1/16 inch, either that box sagged or it was never installed level.
Westminster homes built in the postwar decades often have wall studs that are out of plumb by 1/2 inch or more, and the interior plaster is uneven. A contractor using standard shims will follow the wall’s flaws unless they plumb-check the boxes against a reference line, not the wall itself. That’s the difference between a kitchen that looks right on install day and one that still looks right in year three. The kitchen remodeling in Westminster work we do always includes a plumb reference line on the wall before the first cabinet goes up.
How to Document a Kitchen Remodel Defect Correctly
If you have a defect that isn’t being resolved, the difference between getting a fix and getting stonewalled is almost always documentation. Here’s the sequence to follow, in order:
- Photograph everything with scale. A tape measure or a coin in the frame gives the defect a real measurement. “Crooked door” is a complaint. “Door is 3/16 inch out of level at the hinge side” is a documented defect.
- Write a dated log. Each entry: date, what you observed, who you spoke with, and what they said. Keep it in a single document. This log becomes the spine of any escalation.
- Send a written notice. Email is sufficient. State the defect, the remedy you’re asking for, and a reasonable response window (10 business days is standard). Do not rely on text messages or verbal conversations alone.
- Get the contract, warranty, and scope in one folder. If your contractor doesn’t have these in writing, that’s the first problem. Any contractor operating under The Garrison Standard will hand you a written price, a written scope, and a written guarantee (in Bradford’s case, the 365-Day Done Right Promise) before work starts. If those documents don’t exist, contact an attorney before you contact the board.
- If the contractor is CSLB-licensed (California Contractors State License Board) and the defect isn’t resolved, you have two escalation paths: the CSLB complaint process (cslb.ca.gov) and the contractor’s bond. California requires contractors to carry a surety bond as a condition of licensure. To file against the bond, you’ll need the license number, the bond company name, and a written record of the defect and the communication. That record is what step 3 produced.
- Do not authorize additional work or pay additional invoices while a defect is unresolved. Payment for work not performed correctly is not owed, and paying it removes pressure that documentation created.
The single most common reason homeowners fail to get a defect corrected is inadequate documentation. Photographs with scale, a dated log, and a written notice get results far more reliably than phone calls. In Westminster, the CSLB complaint process is active and effective when a contractor’s license is verified and the paperwork is solid.
Common Mistakes to Avoid
- Adjusting hinges before testing the box. Every hinge adjustment on a box that isn’t plumb is wasted work, and it moves the symptom rather than fixing the cause. Test the box first. Hinge adjustment is only correct when the box is plumb within 1/16 inch over two feet.
- Assuming a countertop seam gap is a fabrication defect. A hairline seam that opens in summer and closes in winter is normal movement. A gap that stays open or grows over months is what indicates substrate or adhesive failure. Measure before you call.
- Treating the tissue test as optional. Every kitchen exhaust fan you can’t confirm is moving air through a tissue test should be treated as possibly non-functional. A fan that spins but doesn’t exhaust is still a moisture problem.
- Letting a plumber or handyman move the trap arm without pulling the permit. Draining and re-venting below a sink requires inspection in most California jurisdictions when the drain location changes. An unpermitted trap arm change can cost you a fight at resale.
- Accepting a verbal scope on a kitchen remodel. No number should move at the door – and no scope should either. If the scope isn’t in writing before work begins, you have no baseline to document a defect against.
- Paying the final invoice before the punch list is signed off. Final payment is leverage. A defect discovered after final payment is harder to get fixed than a defect noted in writing before it.
- Ignoring a Westminster-specific signal: marine air slab movement. In kitchens along the coastal neighborhoods, moisture swings between fog season and Santa Ana season are wider than inland. Kitchen cabinets installed tight against a wall with no shim gap can push against the countertop and crack stone at the seam. That’s not the fabricator’s fault. It’s a climate problem the installation should’ve accounted for.
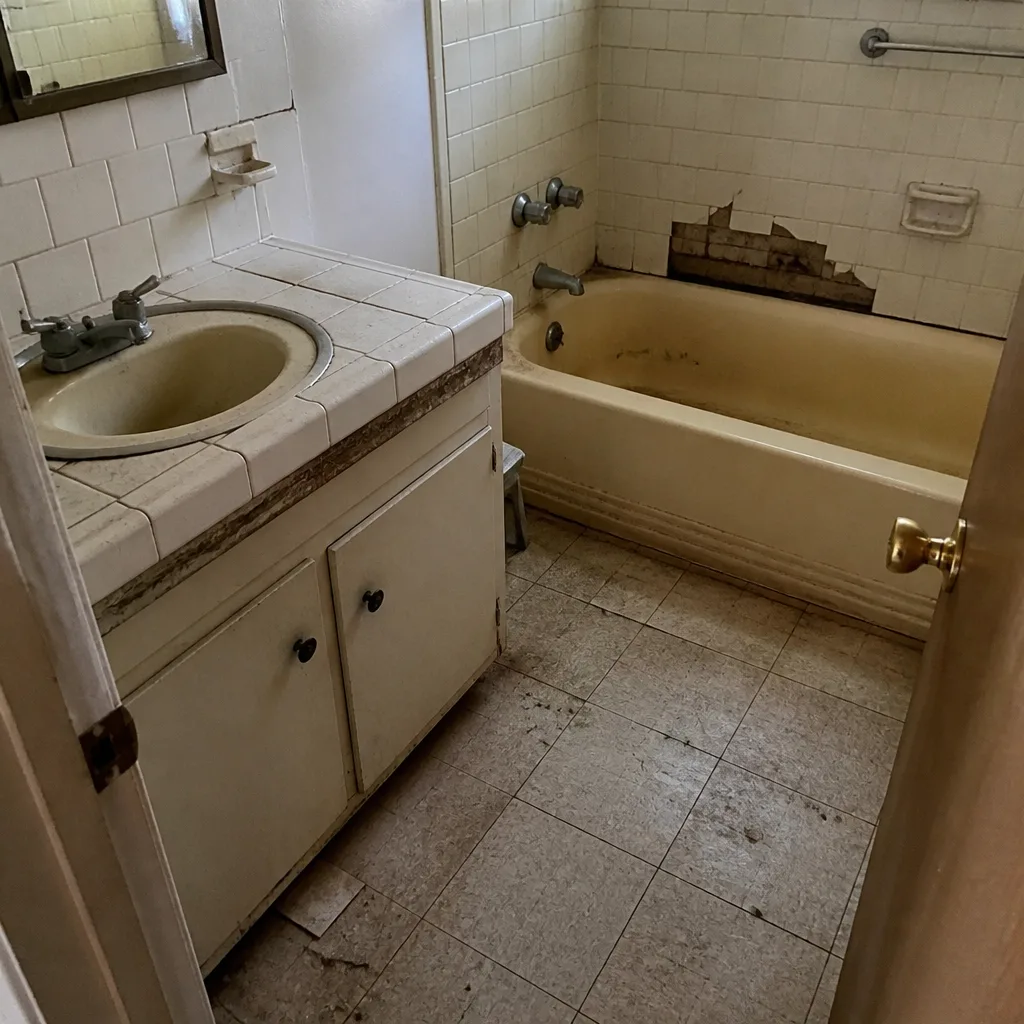
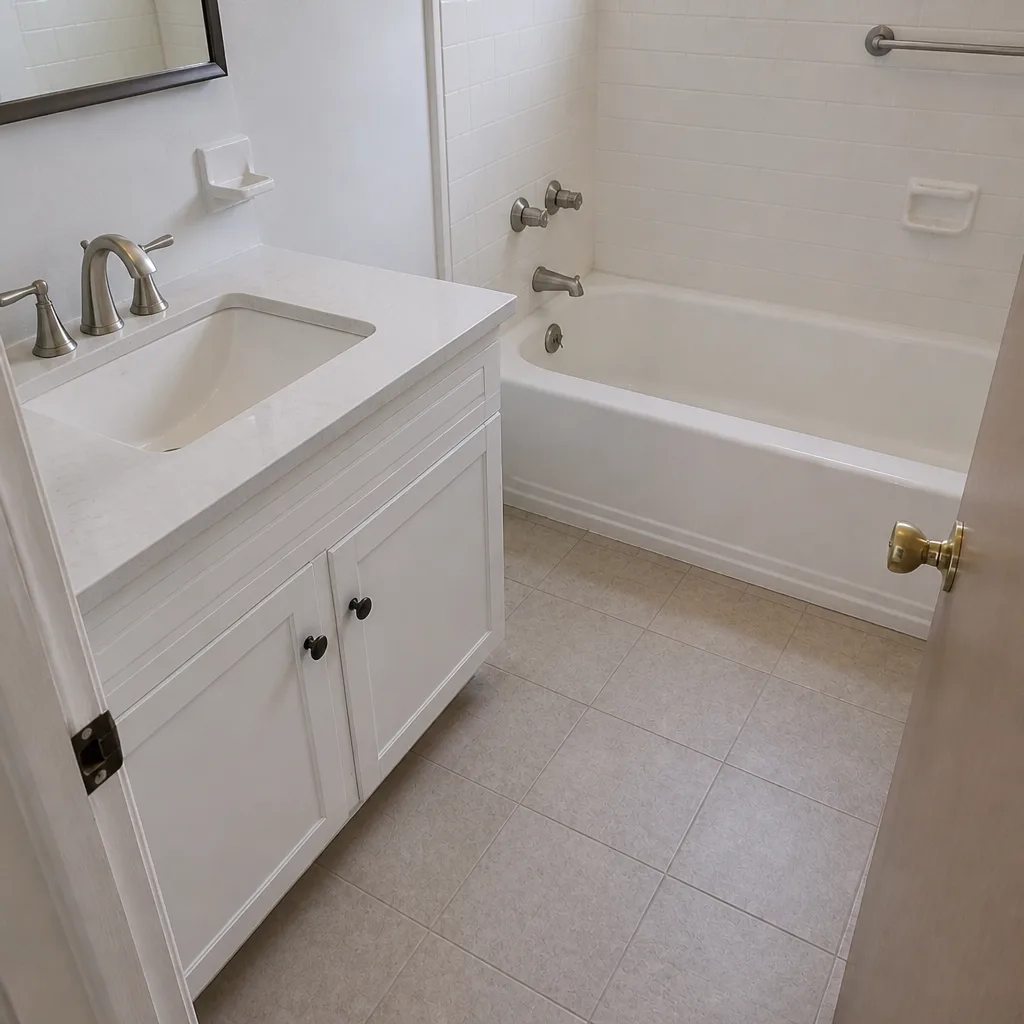
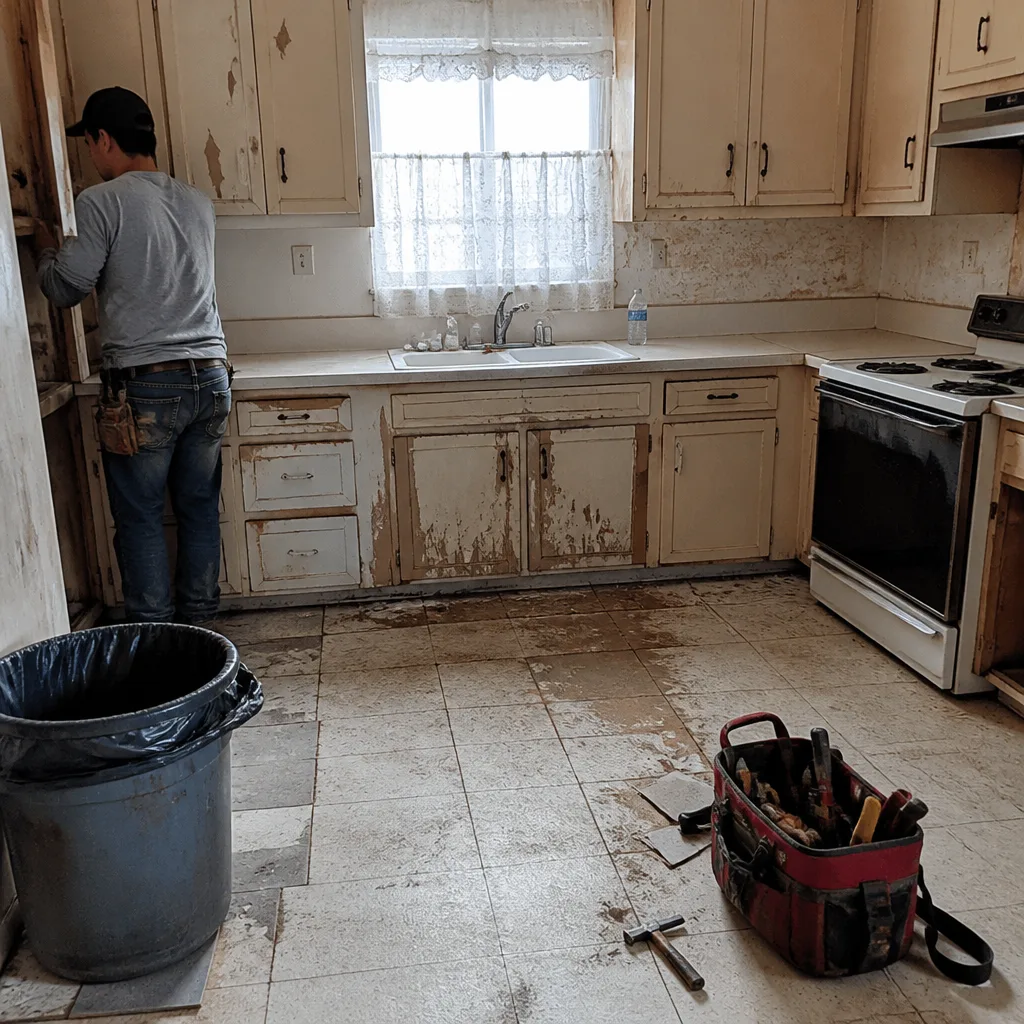
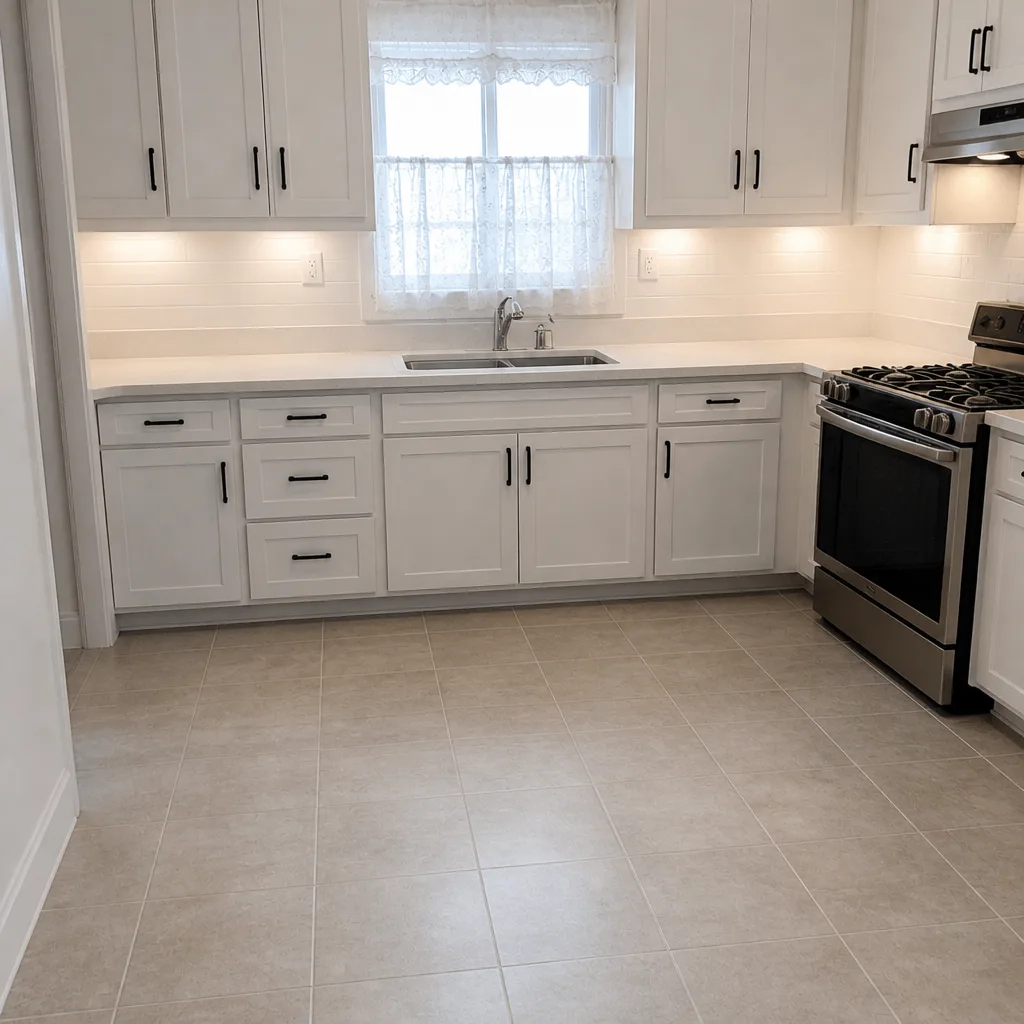
See the difference
 Before
 After
 Before
 After
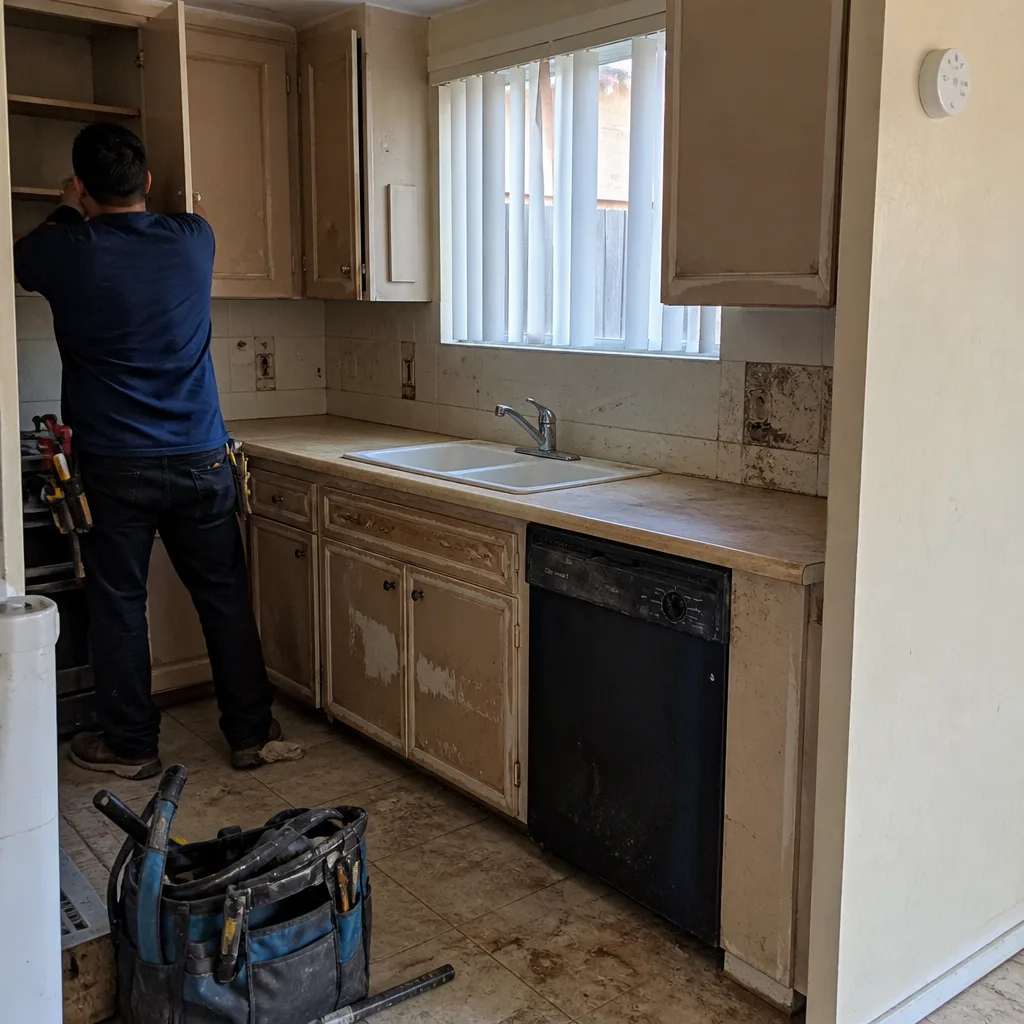 Before
 After
When to Call a Professional

Bring in a licensed pro when the defect involves anything behind a wall or in the plumbing, gas, or electrical systems: trap arm correction, cleanout access, supply line replacement, and any cabinet or countertop work that involves opening a wall cavity. Also bring one in when the cabinet run is more than 1/16 inch out of plumb over two feet and needs re-shimming, and when a countertop seam has been growing for more than one season. These are not “add a screw” jobs. The risk of making the problem worse is real, and the fix is usually more invasive than it looks.
The other time to call is when documentation isn’t getting results. Bradford Remodeling Co Westminster offers free estimates in Westminster and surrounding areas. Every job gets a written price before work starts and the 365-Day Done Right Promise in writing on completion. Bradford Remodeling Co Westminster uses a documented brand roster, including KraftMaid and Wellborn cabinetry, Cambria and Caesarstone surfaces, and Kohler fixtures, so specifications are traceable when something needs to be corrected. Call (833) 954-5086 to schedule your free estimate.
Frequently Asked Questions
If it’s a hinge adjustment, expect $0 to $60 – most homeowners can do this themselves in ten minutes. If the box isn’t plumb and needs re-shimming, the fix usually runs $150 to $400 per cabinet, depending on how much surrounding finish has to come off to access the anchors. Call (833) 954-5086 for an exact quote – estimates are free.
A seam that cracks within the first 12 months is almost always a substrate problem, not a stone problem. The deck under the stone wasn’t continuous, wasn’t back-buttered at the seam, or the two cabinet runs below are at different heights. Have the substrate checked before anyone touches the crack – repairing the crack without fixing the substrate means it reopens in another season. A Bradham-standard contractor would include the substrate remediation in the original scope. Call (833) 954-5086 to have a Westminster estimator look at it.
Use the tissue test: turn the fan to high, hold a single sheet of tissue against the grille. If the tissue stays flat and tight for five seconds, the fan is moving real air. If it drops or curls, the duct behind the fan is likely undersized, crimped, or terminating in the attic instead of outdoors. That last one is a code violation and a moisture problem. Call (833) 954-5086 for a free estimate if ventilation needs correcting.
Yes – kitchen remodels that touch plumbing, electrical, gas, or structural elements require permits in Westminster, and most California jurisdictions require plumbing rough-in inspection before walls close up. Cabinet-only replacements sometimes don’t, but moving a sink or adding a circuit does. Always ask the contractor who is pulling the permit, and make sure you see the inspection sign-off before walls go back up. Call (833) 954-5086 to confirm what your specific scope requires.
Only if the fix doesn’t require cutting into a wall or floor to move a vent or drain. Most kitchen trap arm code violations (running longer than 42 inches unvented, missing cleanout access) require a licensed plumber and an inspection. Improper plumbing correction is the failure mode most likely to cost you significant money at resale. Call us at (833) 954-5086 for a free estimate before you start.
Document first: dated photos with scale, a written log, a written notice via email with a 10-business-day response window. If that doesn’t produce a fix, you have two escalation paths – a CSLB complaint and a surety bond claim if the contractor is licensed in California. You’ll need the license number, the bond company, and the written record. Call (833) 954-5086 for a free estimate if you need an independent contractor to assess the work.
The Bottom Line

Kitchen remodel problems go where the diagnosis is wrong. Most crooked doors are a plumb problem, not a hinge problem. Most opening countertop seams are a substrate problem, not a stone problem. An exhaust fan that spins is not necessarily a fan that moves air. A plumbing mistake that looks fine at install shows up as a gurgling drain months later. The diagnostic tests in this guide take under an hour total and will tell you which failure point you’re dealing with before you call anyone. When it’s time to bring in a pro, Bradford Remodeling Co Westminster responds to a free estimate request with a written price before any work starts, and every completed project is backed by the 365-Day Done Right Promise. Call (833) 954-5086 to schedule.
Written by the team at Bradford Remodeling Co Westminster.